 Pin It
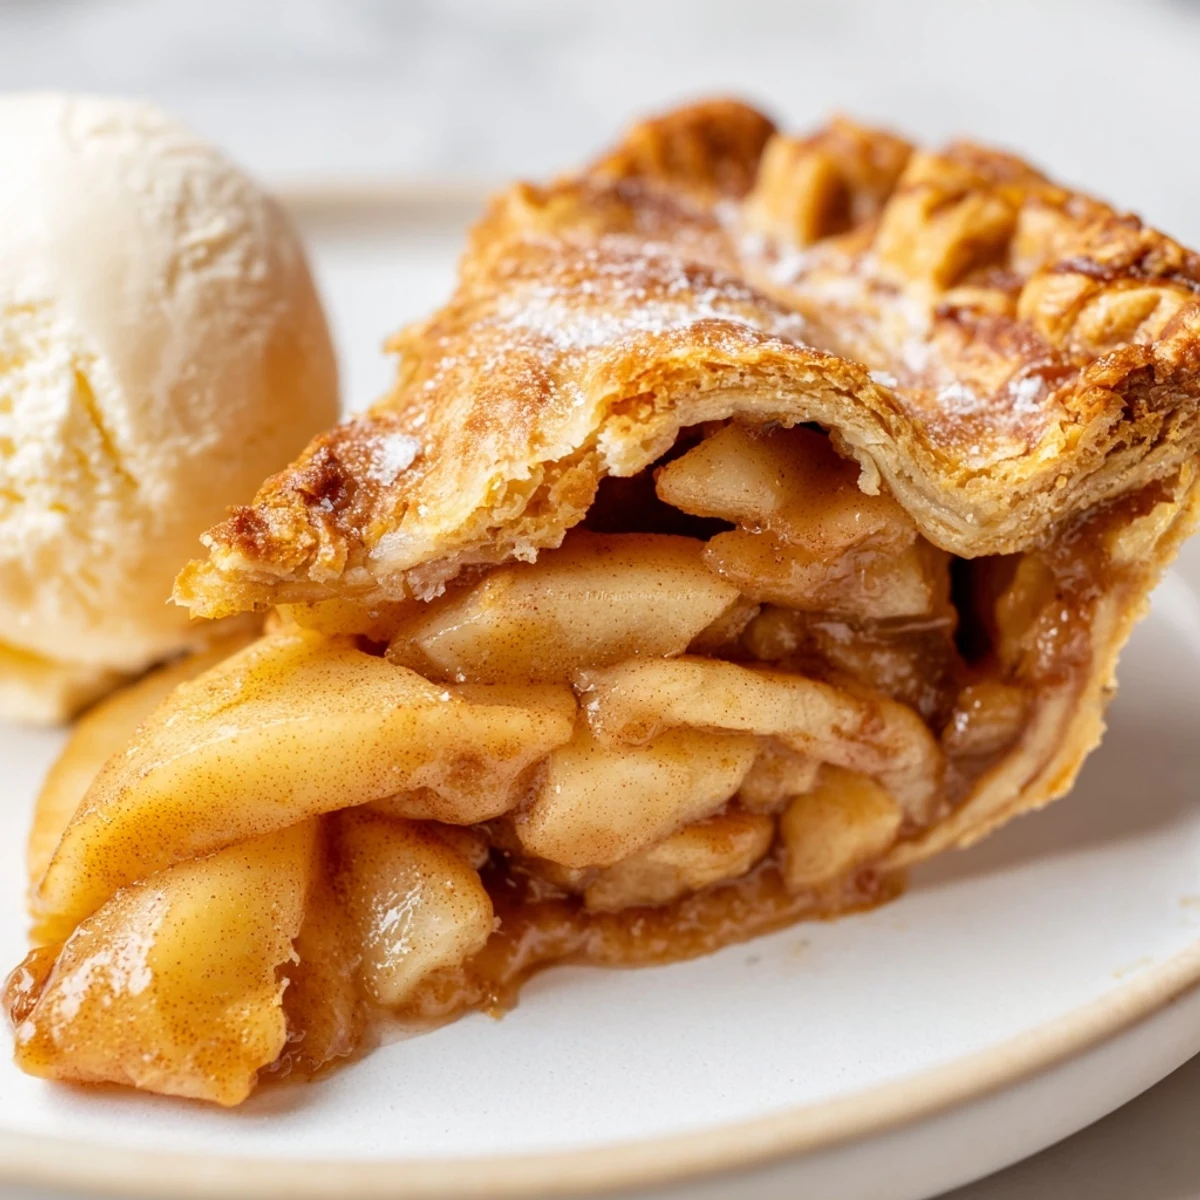
 This beloved American dessert combines tart, thinly sliced Granny Smith apples with warm cinnamon, nutmeg, and cloves nestled between layers of homemade buttery pastry. The crust bakes golden and flaky while the apple filling becomes tender and bubbling. Best served warm after cooling for two hours to let the filling set, topped with creamy vanilla ice cream or fresh whipped cream for the ultimate comfort experience.
The kitchen was already filled with that unmistakable cinnamon aroma when my grandmother walked through the door, her face lighting up before she even saw the oven. She had that knowing smile—the one that says someone has been baking memories. That afternoon changed everything I thought I knew about pie making, turning it from something intimidating into something I couldn't wait to share.
Last Thanksgiving, I made three of these pies because the first one disappeared before dinner even started. My brother actually stood guard over the second one, claiming he needed to quality test it for the family. That is the kind of reaction this recipe inspires—it is not just dessert, it is the event everyone talks about afterward.
Ingredients
- All-purpose flour: The backbone of both your crust and filling, providing structure and helping thicken those apple juices as they bubble up
- Unsalted butter: Keep it ice cold for the crust and room temperature for dotting over the filling—this temperature control makes the difference between a flaky masterpiece and a tough disappointment
- Tart apples: Granny Smiths are the gold standard because they hold their shape during baking and provide that perfect contrast to the sweet spiced filling
- Granulated and brown sugar: The brown sugar adds a subtle caramel depth while the white sugar provides straightforward sweetness, creating layers of flavor
- Ground cinnamon, nutmeg, and cloves: This warm spice trio transforms simple apples into something that tastes like autumn itself, with cinnamon leading and the others providing those beautiful low notes
- Lemon juice: Do not skip this—those tiny acid brightens all the flavors and prevents apples from browning too quickly as you work
- Egg and milk: Whisked together, they create that gorgeous golden finish that makes your pie look like it came from a bakery window
Instructions
- Make the dough ahead:
- Whisk your flour, salt, and sugar in a large bowl, then cut in that cold butter until the mixture looks like coarse crumbs with some pea-sized pieces remaining. Gradually add ice water, mixing gently until the dough just holds together when squeezed. Divide it in half, flatten into discs, and let it chill for at least an hour—this relaxation time prevents the crust from shrinking during baking.
- Prepare your apple filling:
- In a large bowl, toss those thinly sliced apples with both sugars, flour, lemon juice, cinnamon, nutmeg, cloves, and salt until every piece is evenly coated. Let them sit while you roll out the crust, which allows the apples to release some of their juices and the spices to really mingle.
- Roll and fit the bottom crust:
- On a floured surface, roll one dough disc into a 12-inch round, working from the center outward and rotating frequently to prevent sticking. Carefully transfer it to your 9-inch pie dish, letting the edges overhang slightly—you will need that extra dough later for sealing.
- Fill and dot with butter:
- Pour the spiced apple mixture into the bottom crust, mounding them slightly higher in the center since they will cook down. Scatter those small pieces of butter over the top—they will melt into the filling, creating those incredible little pockets of flavor throughout.
- Add the top crust and seal:
- Roll out the second dough disc and drape it over the apples. Trim the edges, then fold and crimp them together, pressing firmly to create a tight seal that keeps all those juices inside. Cut several slits in the top crust, arranging them in a pattern if you are feeling artistic—these steam vents are absolutely crucial.
- Give it that golden finish:
- Beat your egg with milk until combined, then brush this mixture generously over the entire top crust. Sprinkle with coarse sugar for that professional sparkle and extra crunch that makes each bite irresistible.
- Bake to perfection:
- Start at 425°F for 20 minutes to set the crust, then reduce to 375°F and continue baking until the filling is bubbly and visible through those vents, about 35 to 40 minutes more. If the edges brown too quickly, cover them with foil.
- Exercise patience:
- Let the pie cool on a wire rack for at least 2 hours before slicing. This waiting period is agony, but it allows the filling to set properly so each serving holds its shape instead of becoming a delicious mess on the plate.
 Pin It
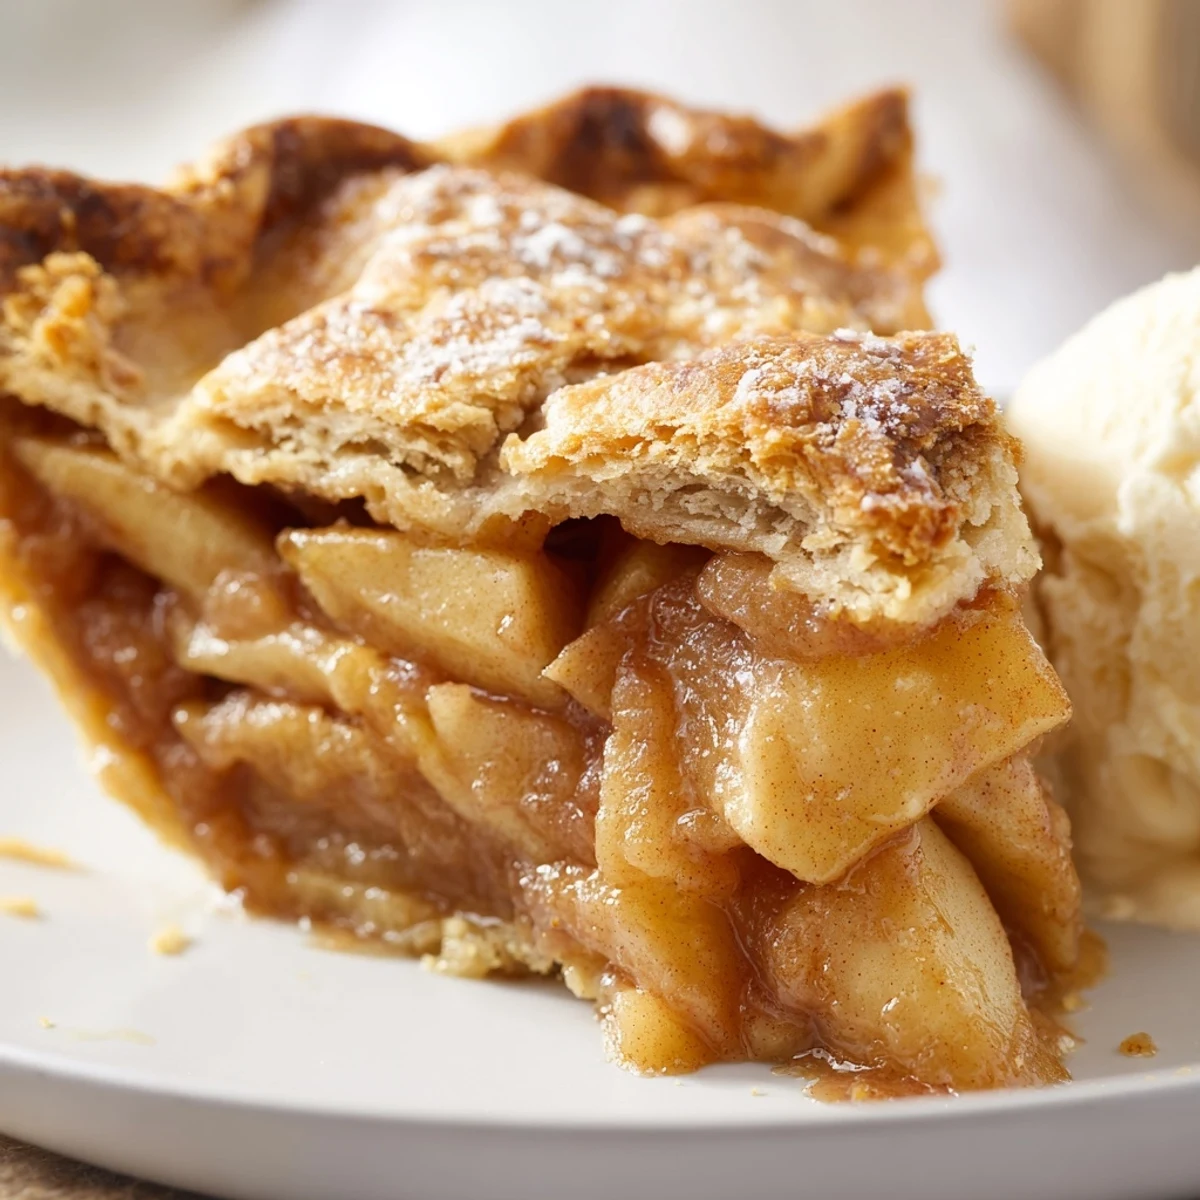
 My neighbor once told me she judges people by whether their apple pie filling holds its shape when sliced. After mastering this recipe, I finally earned her respect. There is something deeply satisfying about serving a pie that looks as good as it tastes, especially when you see that moment of pure delight on someone's face.
The Secret to Perfect Apple Selection
After years of experimentation, I have learned that mixing apple varieties creates the most complex flavor profile. While Granny Smiths provide structure and tartness, adding a few Honeycrisps or Braeburns introduces natural sweetness and a wonderful tender-crisp texture that holds up beautifully to baking.
Make Ahead Magic
You can prepare the dough up to three days in advance and store it in the refrigerator, or freeze it for up to three months. The filling can also be mixed and held for a few hours before baking, though I recommend adding the lemon juice just before assembling to prevent the apples from breaking down too much.
Serving Suggestions That Elevate
While vanilla ice cream is the classic companion, I have discovered that a small scoop of salted caramel ice cream creates an incredible sophisticated contrast. For dinner parties, warm individual slices and serve with a dollop of crème fraîche mixed with maple syrup.
- Leftover pie keeps at room temperature for two days or refrigerated for up to five
- Recover that fresh baked texture by warming slices in a 350°F oven for 10 minutes
- The pie actually tastes better the next day as the flavors continue to develop
 Pin It
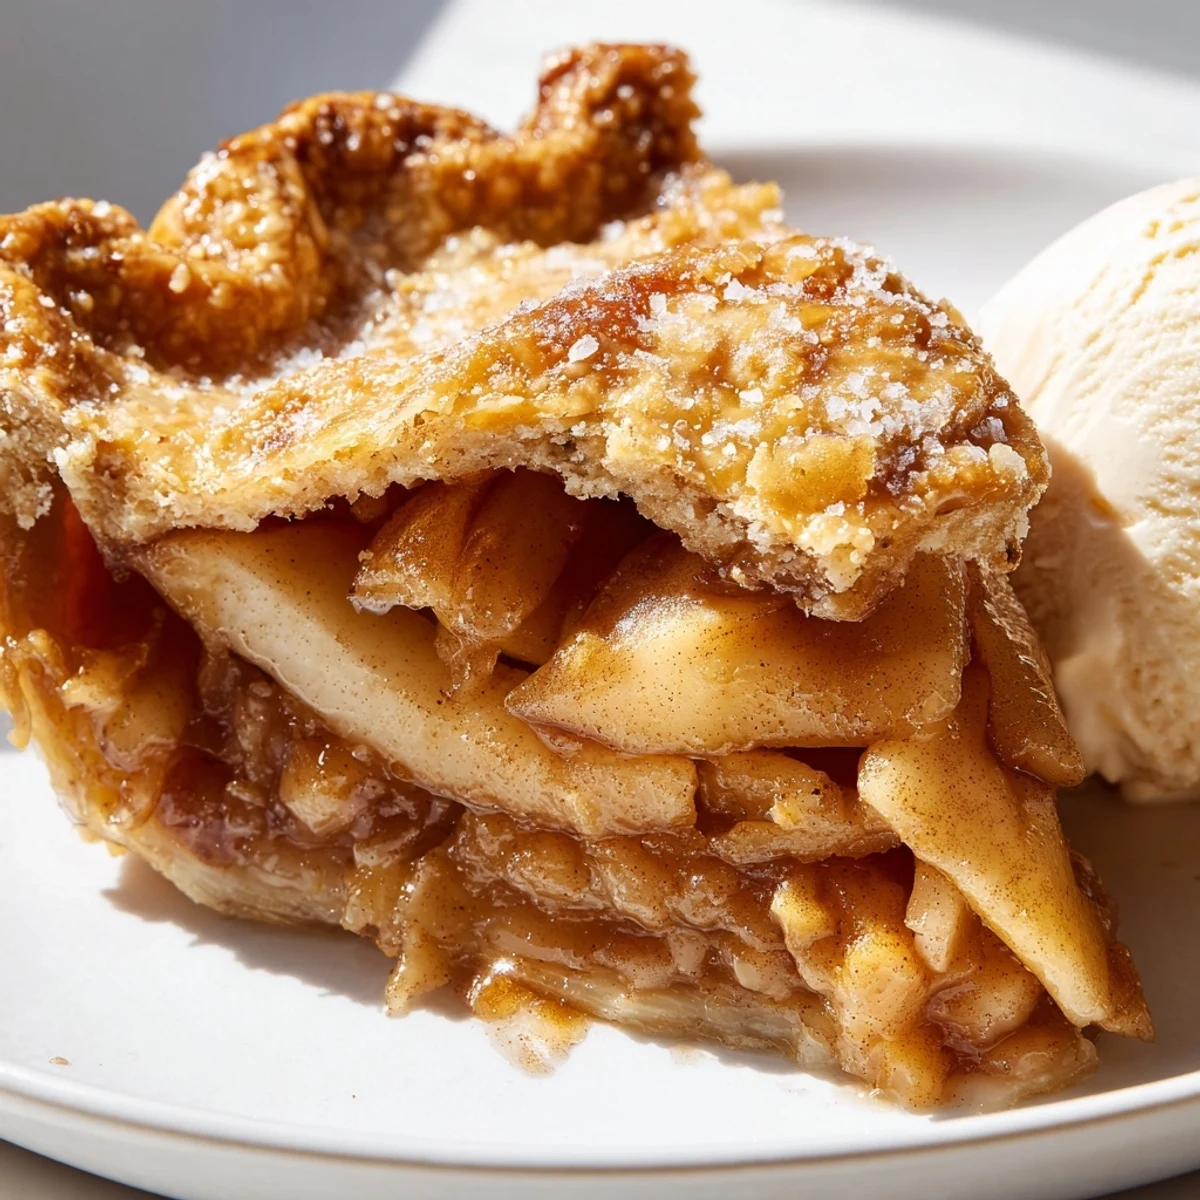
 There is something profoundly satisfying about pulling a perfectly golden apple pie from the oven, knowing you are about to create new memories. May your kitchen always smell like cinnamon and may your pie never last longer than an hour on the counter.
Recipe FAQ
- → What type of apples work best?
-
Granny Smith apples are ideal because their tart flavor holds up beautifully during baking and maintains texture without becoming mushy. You can also mix in Honeycrisp or Braeburn for added sweetness.
- → Why must the pie cool before slicing?
-
Cooling for at least two hours allows the filling to thicken properly. Cutting too early will cause the apple juices to run, resulting in a soggy bottom crust and messy serving.
- → Can I prepare the dough ahead of time?
-
Absolutely. The pastry dough can be wrapped tightly and refrigerated for up to three days or frozen for several months. Thaw overnight in the refrigerator before rolling out.
- → How do I know when it's done baking?
-
The crust should be deep golden brown and you should see the filling bubbling actively through the steam vents. If the edges brown too quickly, cover them with foil during the final baking minutes.
- → What's the purpose of the egg wash?
-
Brushing the top crust with beaten egg and milk creates a beautiful golden sheen and helps the coarse sugar adhere for a sparkling, bakery-style finish.
- → Can I add other spices or flavors?
-
A splash of Calvados apple brandy adds sophisticated depth, or try adding a handful of golden raisins for extra texture and sweetness. Some bakers also love adding cardamom or allspice.