 Pin It
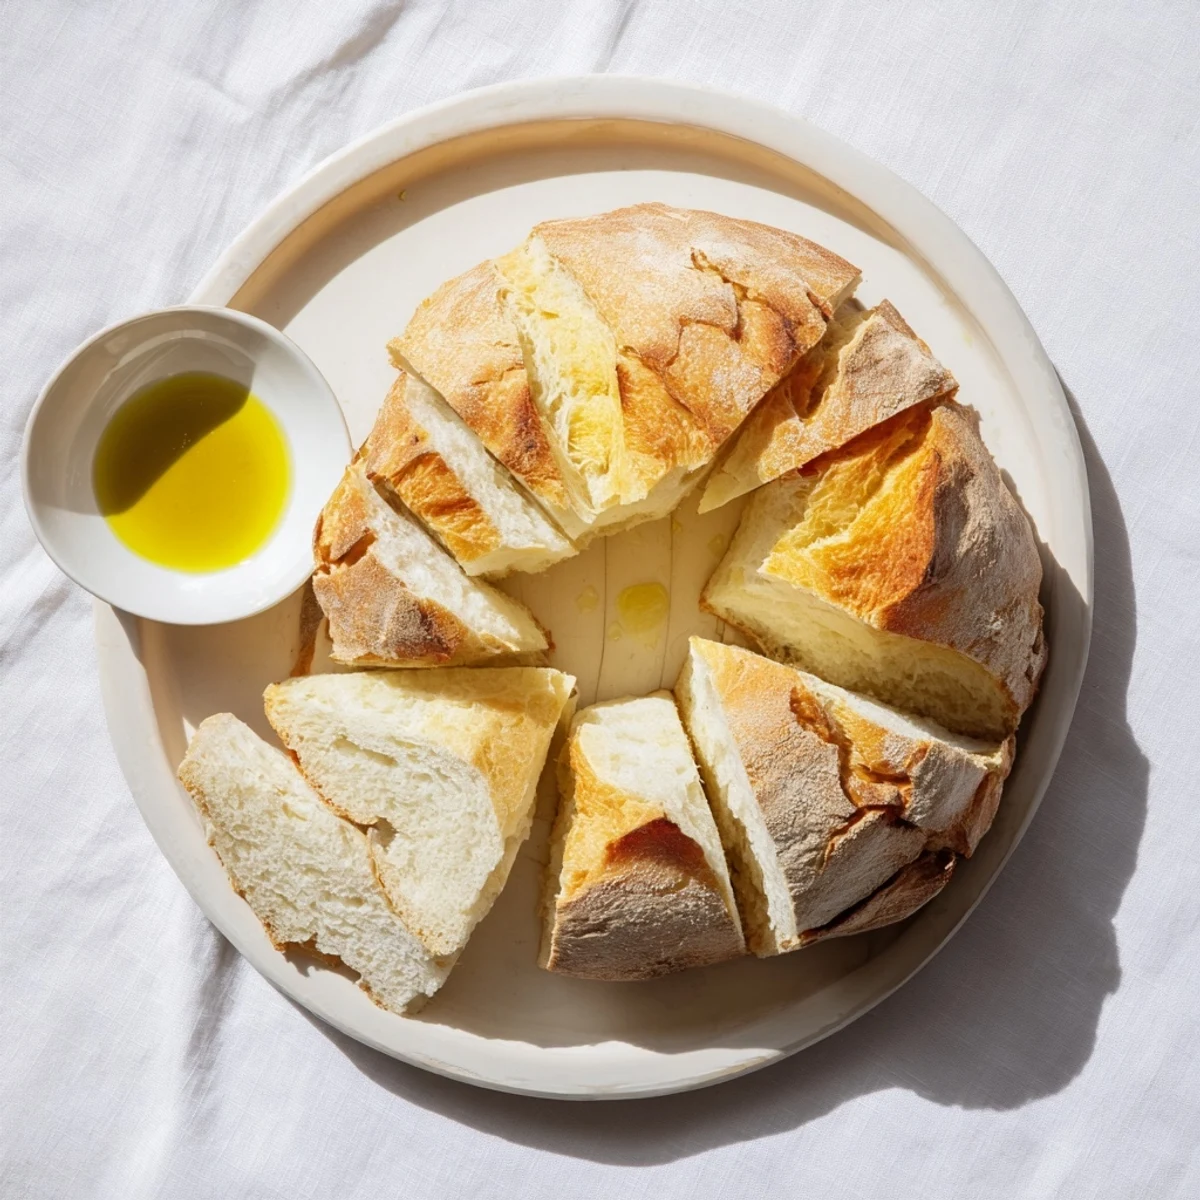
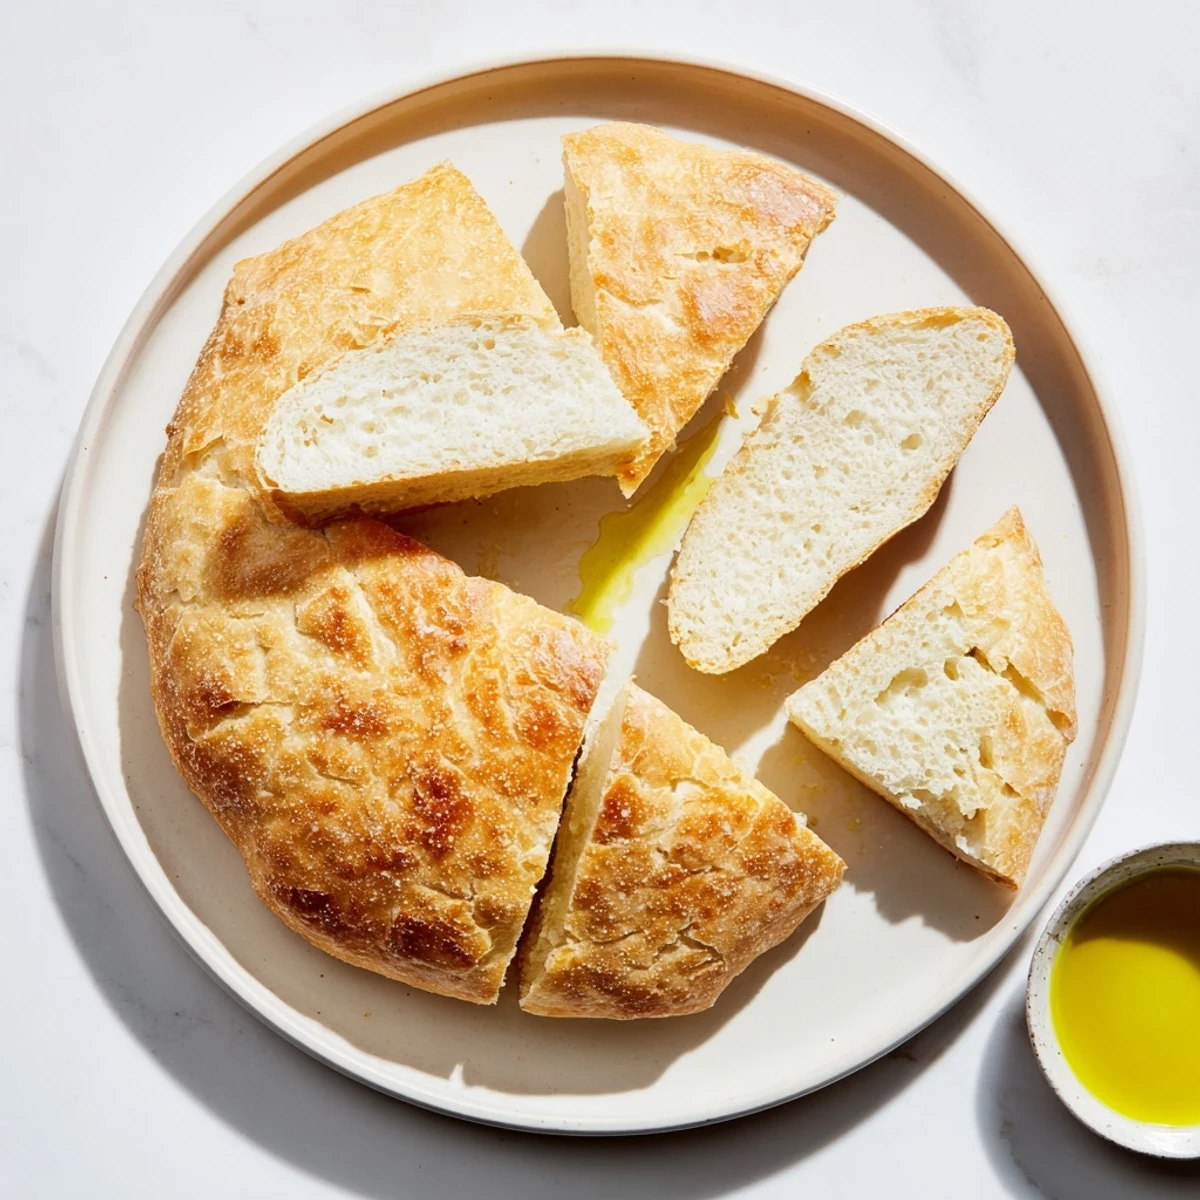
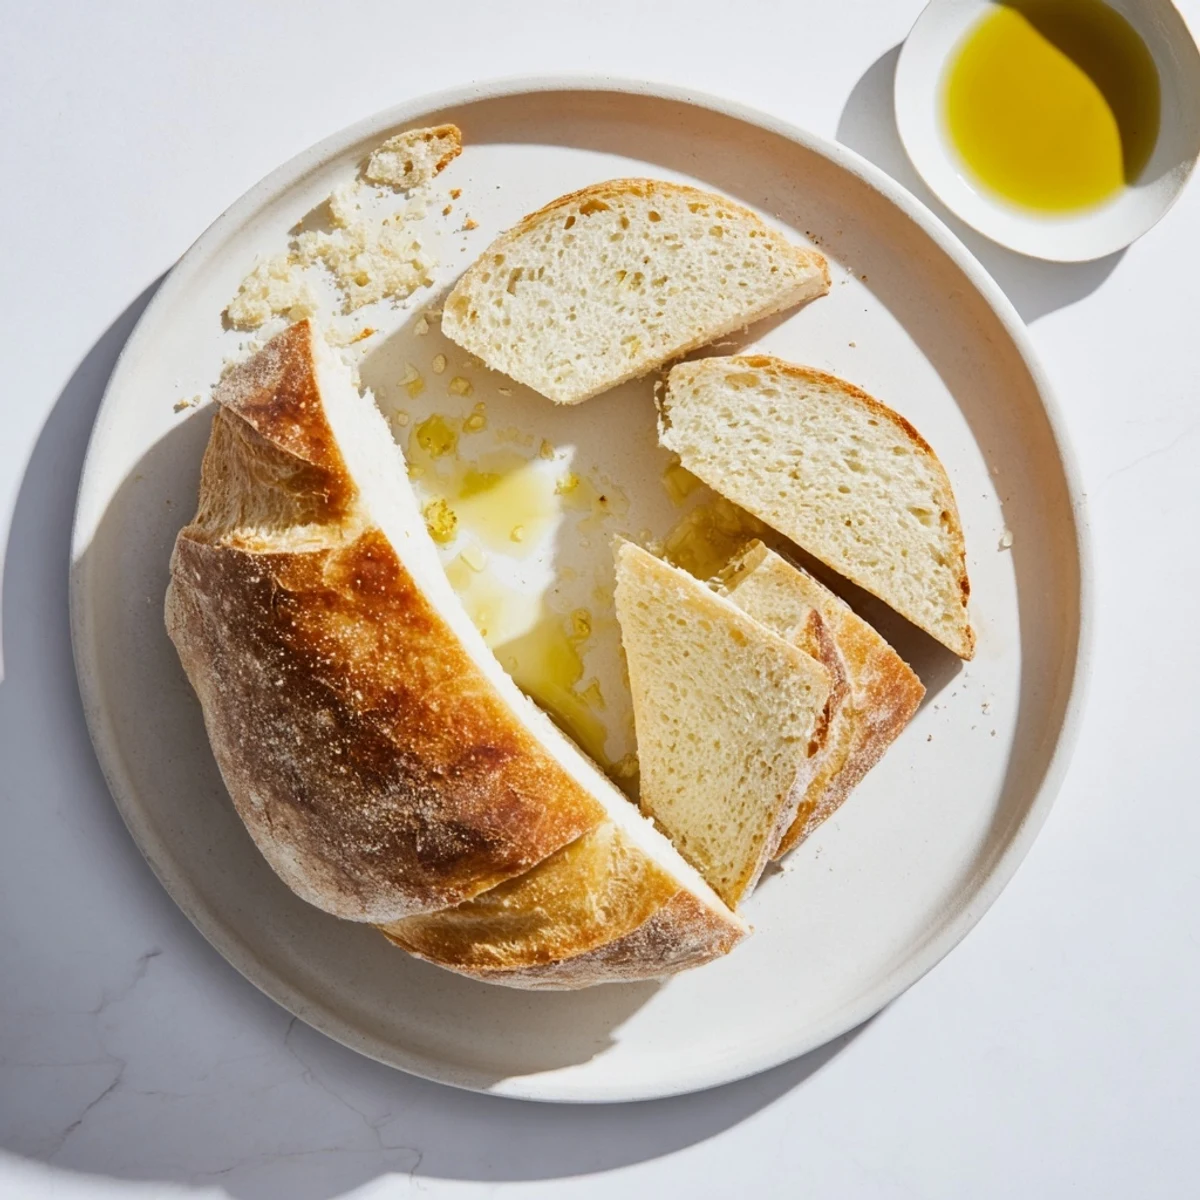
 Master the art of making soft, fluffy bread without an oven using just a heavy skillet and simple pantry staples. This straightforward method yields a tender loaf with golden crust, perfect for when you need fresh bread fast. The dough comes together quickly with flour, yeast, and olive oil, then rises for one hour before cooking slowly on the stovetop. The gentle heat creates beautifully browned exterior while keeping the interior light and airy. Ideal for beginners or anyone seeking reliable results without specialized equipment.
The rain was coming down hard that Sunday, and I was craving fresh bread but our oven had given up the ghost two days prior. My grandmother mentioned how people used to bake bread in heavy pots over open fires, and suddenly my stovetop seemed like a perfectly reasonable alternative. That first attempt came out surprisingly decent, with a golden crust and soft interior that made the whole apartment smell like a proper bakery despite the weather outside.
My roommate walked in while I was flipping the bread in the skillet, giving me this look that suggested Id finally lost my mind completely. The sound of that bread hitting the hot pan againa soft sizzle that filled the kitchensilenced her skepticism pretty quickly. We stood there watching it cook through the glass lid like it was the most fascinating thing wed ever seen, and when I tapped the bottom and heard that hollow echo, we both basically cheered.
Ingredients
- All-purpose flour: This creates the perfect structure for stovetop baking, giving you enough protein for a good rise while staying tender
- Instant dry yeast: No proofing needed here, which keeps the process straightforward and reliable
- Sugar: Just enough to feed the yeast and help that beautiful golden color develop
- Salt: Essential for flavor and helps control the fermentation so your bread doesnt rise too wildly
- Olive oil: Keeps the dough supple and adds a subtle richness, plus prevents sticking in the pan
- Warm water: The temperature really matterstoo cold and the yeast sleeps, too hot and you kill it completely
Instructions
- Mix the dry foundation:
- Combine your flour, yeast, sugar, and salt in a large bowl, making sure everything is evenly distributed so the yeast gets activated throughout the dough
- Bring it together:
- Pour in the warm water and olive oil, then stir with your wooden spoon until you have a shaggy, slightly sticky mass that holds together when you press it
- Knead with intention:
- Turn the dough onto a lightly floured surface and knead for about 10 minutes, feeling it transform from sticky and rough to smooth and elastic under your hands
- Let it rise:
- Place your dough in a greased bowl, cover it with a damp cloth, and find the warmest corner of your kitchen for about an hour until it has doubled in size
- Shape your loaf:
- Punch down the risen dough gently and form it into a round, tucking the edges underneath to create tension on the surface
- Prepare the pan:
- Coat your heavy skillet or nonstick pan generously with olive oil, heating it slightly so the oil spreads evenly
- The first cook:
- Place the dough in the center, cover tightly with the lid, and cook over the absolute lowest heat for 15 minutes, peeking occasionally to make sure the bottom is developing a deep golden color without burning
- Flip and finish:
- Carefully turn the bread over, cover again, and cook for another 12 to 15 minutes until both sides are beautifully browned and the bread sounds hollow when you tap it
- Rest before slicing:
- Let the bread cool on a wire rack for at least 15 minutes because cutting into hot bread will steam all those perfect interior crumbs into gummy disappointment
 Pin It
 That rainy Sunday bread became a regular thing in our apartment, something Id throw together almost on impulse whenever the mood struck. Theres something incredibly grounding about making bread with such basic equipment, connecting you to generations of cooks who made do with whatever heat source they had available.
Finding Your Pan Sweet Spot
Every stove is different, and your lowest setting might be my medium heat, so expect to adjust during your first attempt. The ideal temperature will have the bread gently sizzling rather than aggressively frying, creating that perfect thick crust without burning the bottom before the inside bakes through.
Knowing When to Flip
The first side typically needs a bit more time since the dough is colder and heavier when it first hits the pan. Look for a deep golden brown color and use a thin spatula to peek at the bottom if you are uncertain, remembering that the second side usually cooks faster because the bread is already warmed through.
Customization That Works
The basic dough is remarkably forgiving and welcomes additions without throwing off the stovetop cooking time dramatically. Consider mixing in whatever speaks to your mood or complements your meal.
- Dried herbs like rosemary or thyme should be added with the dry ingredients so they distribute evenly throughout the crumb
- Minced garlic or caramelized onions work beautifully folded in during the final minutes of kneading for savory variations
- A sprinkle of coarse salt on top before cooking adds this satisfying crunch and restaurant finish that makes the bread feel special
 Pin It
 Theres something magical about pulling fresh bread from a skillet, almost like a secret youve discovered that most people never consider. Start with the basic recipe and let your confidence build, then experiment until you make this simple method entirely your own.
Recipe FAQ
- → Can I make this without yeast?
-
Yeast is essential for the fluffy texture and proper rising. Baking powder won't provide the same result or flavor development in this preparation.
- → Why cook on the lowest heat setting?
-
Low gentle heat ensures the bread cooks through completely without burning the bottom before the interior finishes. This mimics an oven's ambient temperature.
- → How do I know when the bread is done?
-
Look for golden brown color on both sides and listen for a hollow sound when tapping the crust. The internal temperature should reach 200°F.
- → Can I add mix-ins like cheese or garlic?
-
Absolutely! Fold in shredded cheese, minced garlic, or dried herbs during the kneading stage. Avoid excessive wet additions that could make the dough sticky.
- → Why does my bread turn out dense?
-
This usually means insufficient kneading or under-proofing. Ensure you knead for the full 8-10 minutes to develop gluten, and let the dough double in size during rising.
- → Can I use whole wheat flour?
-
Yes, substitute half the all-purpose flour with whole wheat. Keep in mind whole wheat absorbs more liquid, so you may need slightly additional warm water.