 Pin It
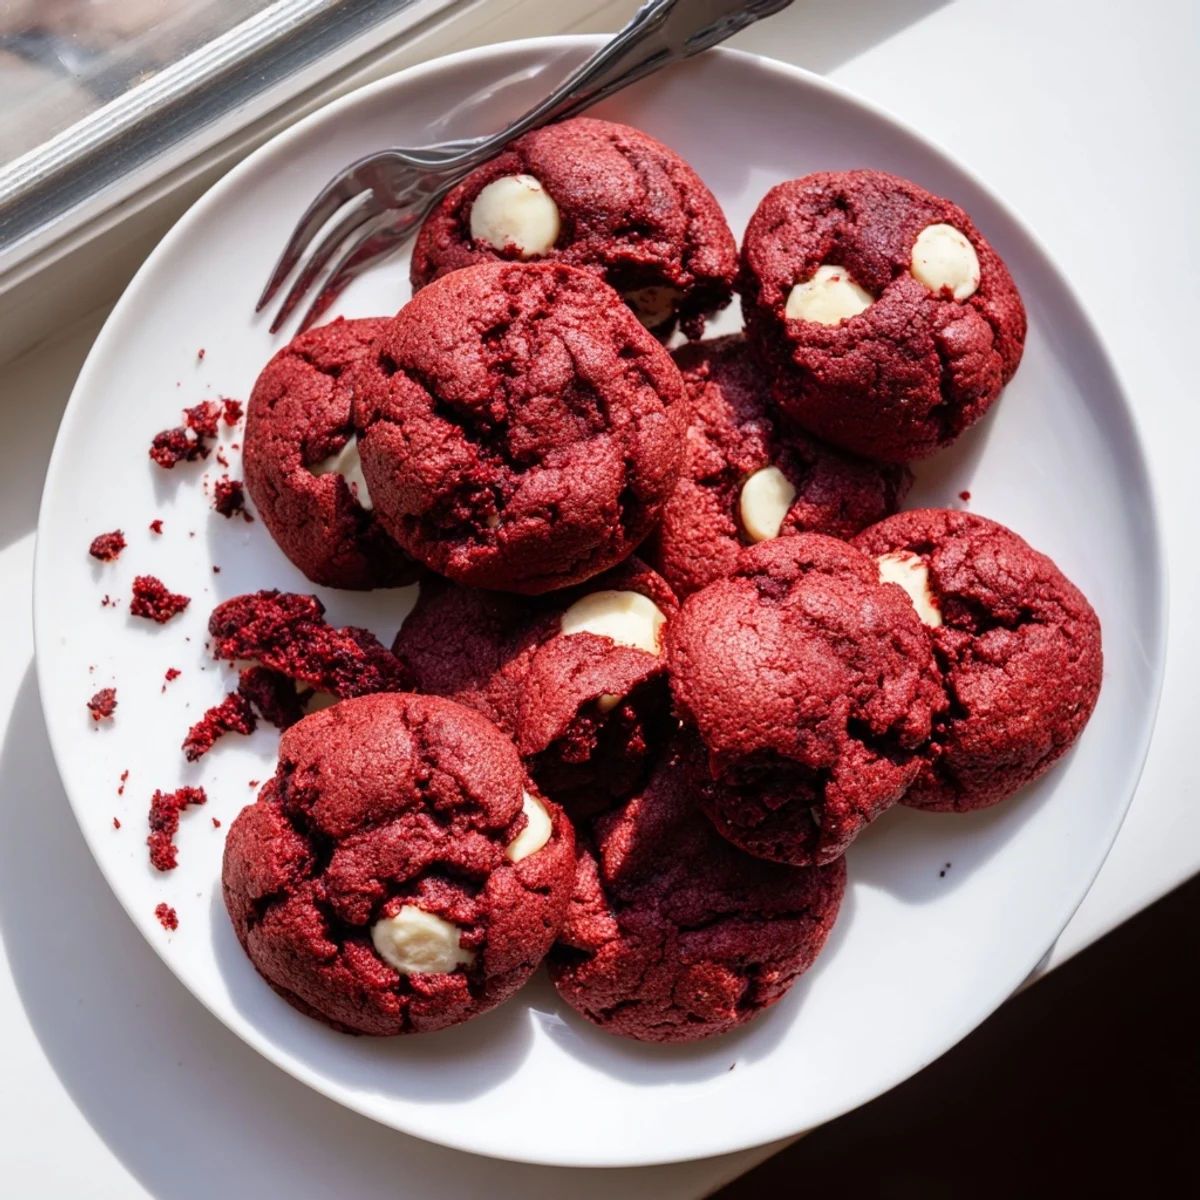
 These rich, chewy red velvet cookies combine the classic cocoa-forward flavor of red velvet with sweet white chocolate chips and surprise Oreo cream filling. The deep red dough bakes into soft, tender cookies with slightly crisp edges, while the hidden center delivers creamy, cookie-crunch goodness in every bite.
Perfect for holidays, parties, or whenever you're craving something indulgent, these stuffed cookies deliver that wow factor. The 37-minute total time includes a quick chill for the filling, making assembly mess-free. Store them in an airtight container and they stay perfectly soft for up to three days.
The first time I made red velvet anything, my entire kitchen looked like a crime scene. Red food coloring everywhere—on the counters, my apron, somehow even on the dog's nose. But one bite of those chewy, cocoa-kissed cookies with their surprise Oreo center, and I decided the mess was absolutely worth it. Now they're the most requested treat at every family gathering.
My sister-in-law once ate three in one sitting and tried to convince me she'd only had one. I knew better when I saw the telltale red crumbs on her shirt. These cookies have a way of disappearing before anyone admits to taking more than their share.
Ingredients
- All-purpose flour (2 cups): The foundation that gives these cookies their perfect chewy texture
- Unsweetened cocoa powder (1/4 cup): Don't skip this—it's what makes red velvet taste like red velvet, not just red cake
- Baking soda (1 tsp): Helps the cookies puff just right in the oven
- Salt (1/2 tsp): Balances all that sweetness and enhances the cocoa flavor
- Unsalted butter, softened (1/2 cup + 2 tbsp): Room temperature butter is crucial for proper creaming
- Granulated sugar (3/4 cup): Creates crisp edges while keeping centers soft
- Light brown sugar (1/2 cup): Adds moisture and a subtle caramel note
- Large egg: Binds everything together while adding richness
- Milk (1 tbsp): Just enough liquid to bring the dough together
- Vanilla extract (2 tsp + 1/2 tsp): Pure vanilla makes all the difference here
- Red food coloring (1 tbsp): Gel coloring gives deeper color with less liquid
- White chocolate chips (1 cup): Creamy sweetness that pairs perfectly with the cocoa
- Cream cheese (4 oz): The base of our indulgent filling
- Powdered sugar, sifted (1 1/4 cups): Sifting prevents lumps in the smooth filling
- Oreo cookies (8): Finely crushed, they add that signature cookies-and-cream flavor
Instructions
- Get your oven ready:
- Preheat to 350°F (175°C) and line two baking sheets with parchment paper. This prep step saves so much stress later.
- Whisk the dry team:
- In a medium bowl, combine flour, cocoa powder, baking soda, and salt. The cocoa flour will look dusty and velvety.
- Cream your butter and sugars:
- Beat butter, granulated sugar, and brown sugar until fluffy and pale. This usually takes about 2 minutes of serious mixing.
- Add the wet ingredients:
- Mix in egg, milk, vanilla, and red food coloring until everything's combined and the dough turns that signature red.
- Combine everything:
- Gradually add dry ingredients, mixing until just combined. Fold in white chocolate chips last. Don't overmix or cookies get tough.
- Make the Oreo filling:
- Beat cream cheese and butter until smooth. Add powdered sugar and vanilla until creamy, then fold in crushed Oreos. Refrigerate for 10 minutes—it makes stuffing so much easier.
- Stuff those cookies:
- Scoop 2-tablespoon portions of dough, flatten slightly, and place 1 teaspoon of filling in the center. Fold dough around it, sealing edges carefully.
- Bake to perfection:
- Place dough balls 2 inches apart on prepared sheets. Bake 11 to 12 minutes until edges are set but centers still look slightly soft.
- Cool completely:
- Let cookies rest on baking sheets for 5 minutes, then transfer to wire racks. They need this time to finish setting up.
 Pin It
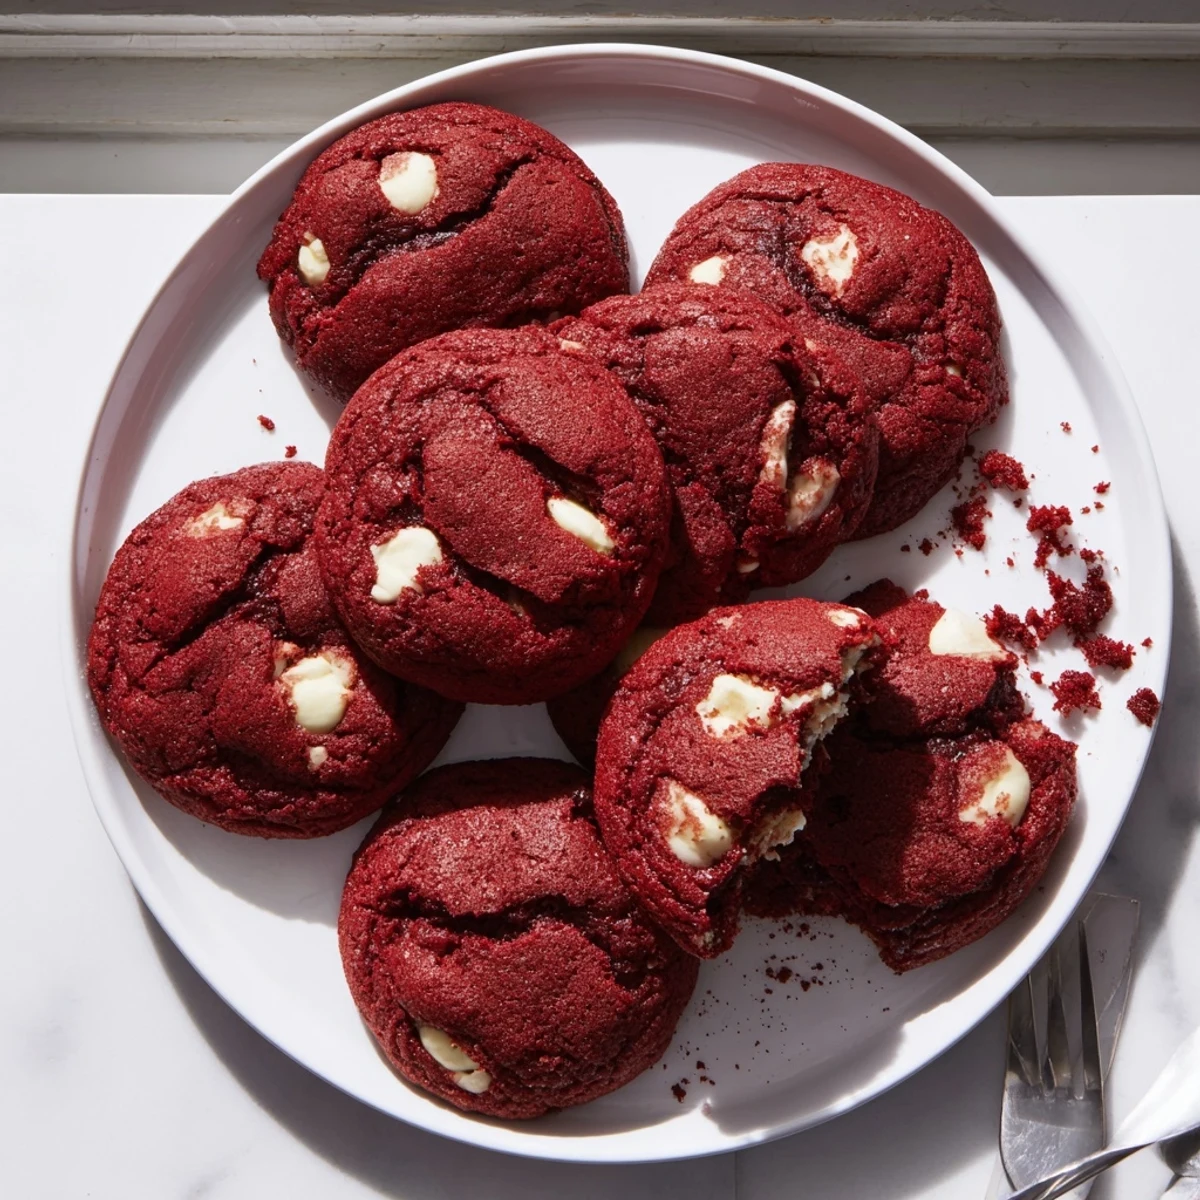
 Last Christmas, I made a double batch and my husband kept finding excuses to go check the mail just to grab another from the cooling rack. The marble swirl of red dough and white filling peeking through makes these impossibly tempting fresh from the oven.
Making These Ahead
The cookie dough balls freeze beautifully for up to 3 months. I often scoop and freeze them unstuffed, then thaw in the fridge overnight and fill before baking. Fresh cookies with zero weekday effort.
Getting That Perfect Red Color
I've learned that gel food coloring gives a deeper red without adding extra liquid to the dough. If you only have liquid coloring, start with 1 teaspoon and add more gradually until you reach your desired shade.
Serving Suggestions
These are showstoppers on their own, but a scoop of vanilla ice cream alongside turns them into a restaurant-worthy dessert. The cold cream against the warm cookie is something else entirely.
- Warm them for 15 seconds in the microwave before serving
- Sprinkle a few extra crushed Oreos on top for garnish
- Pair with a glass of cold milk or hot coffee
 Pin It
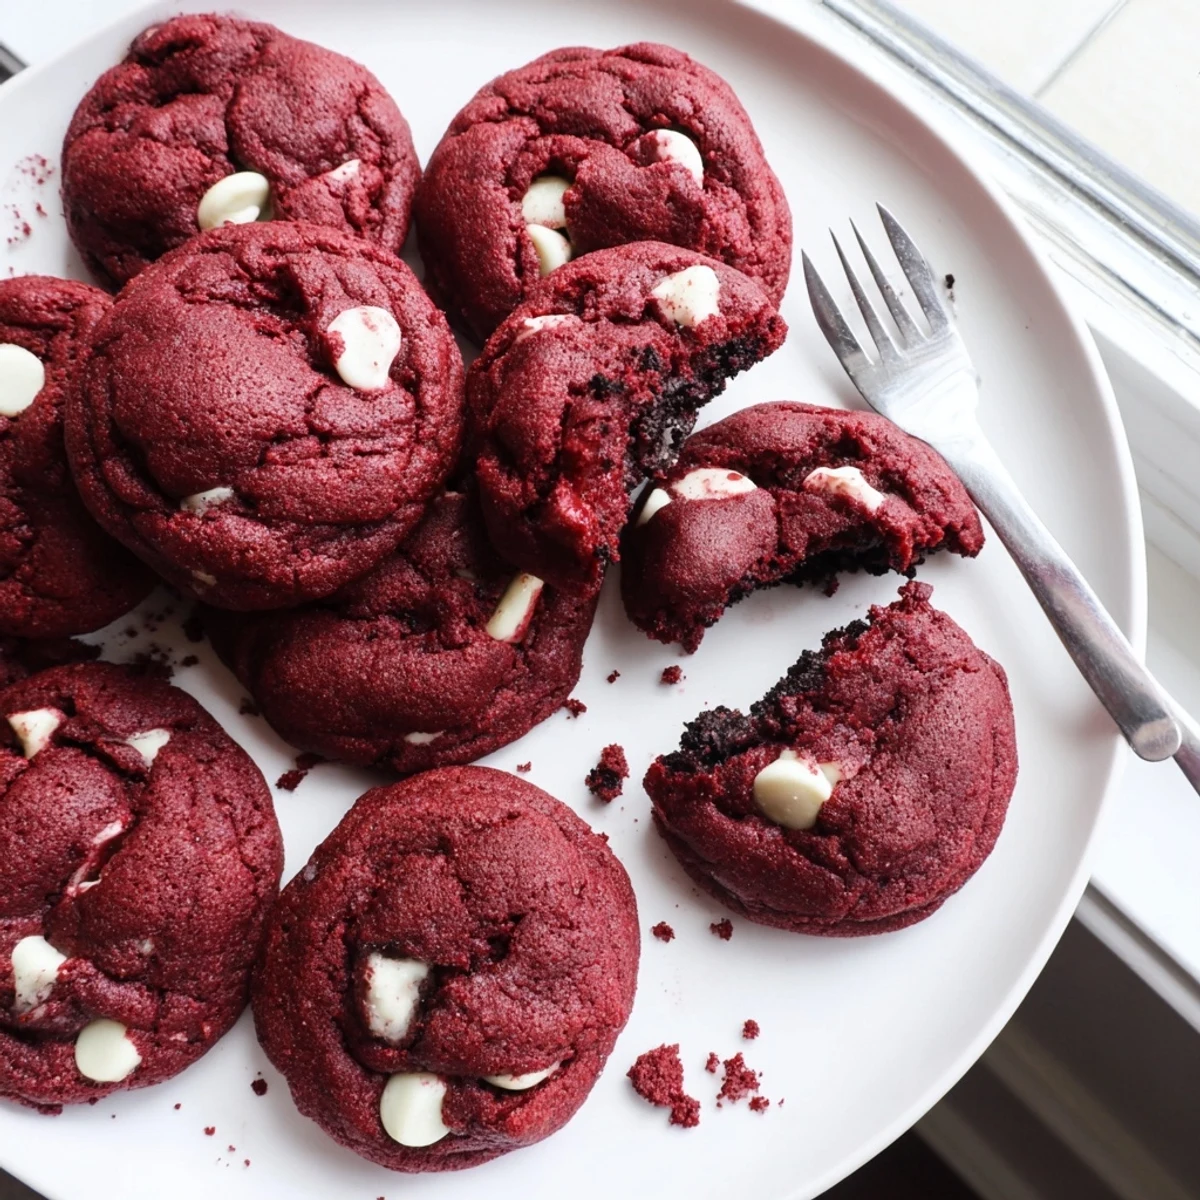
 There's something deeply satisfying about biting into these and discovering that hidden creamy center. Hope they become as beloved in your kitchen as they are in mine.
Recipe FAQ
- → How do I prevent the filling from leaking during baking?
-
Chill the Oreo cream filling for at least 10 minutes before stuffing the dough. This firms it up, making it easier to enclose and less likely to leak. Also ensure you seal the dough edges completely around the filling.
- → Can I use gel or liquid food coloring?
-
Both work perfectly. Gel food coloring delivers a more vibrant red with less liquid, while liquid coloring may require slightly adjusting the flour. Start with 1 tablespoon and add more if you want a deeper red hue.
- → What's the best way to crush Oreos for the filling?
-
Place whole Oreos in a sealed plastic bag and crush with a rolling pin, or pulse them in a food processor for fine, even crumbs. You want mostly fine crumbs with a few small chunks for texture.
- → Can I make the dough ahead of time?
-
Yes, prepare the dough and filling separately, then refrigerate both for up to 24 hours. Let the dough soften slightly at room temperature before shaping and stuffing for easier handling.
- → Why are my cookies spreading too much?
-
If your butter was too soft or the dough was warm before baking, cookies may spread excessively. Chill the assembled dough balls for 15-20 minutes before baking to help them hold their shape.
- → Can I freeze these stuffed cookies?
-
Absolutely. Freeze assembled, uncooked dough balls on a baking sheet, then transfer to a freezer bag. Bake from frozen, adding 1-2 extra minutes to the baking time. You can also freeze baked cookies for up to 3 months.