 Pin It
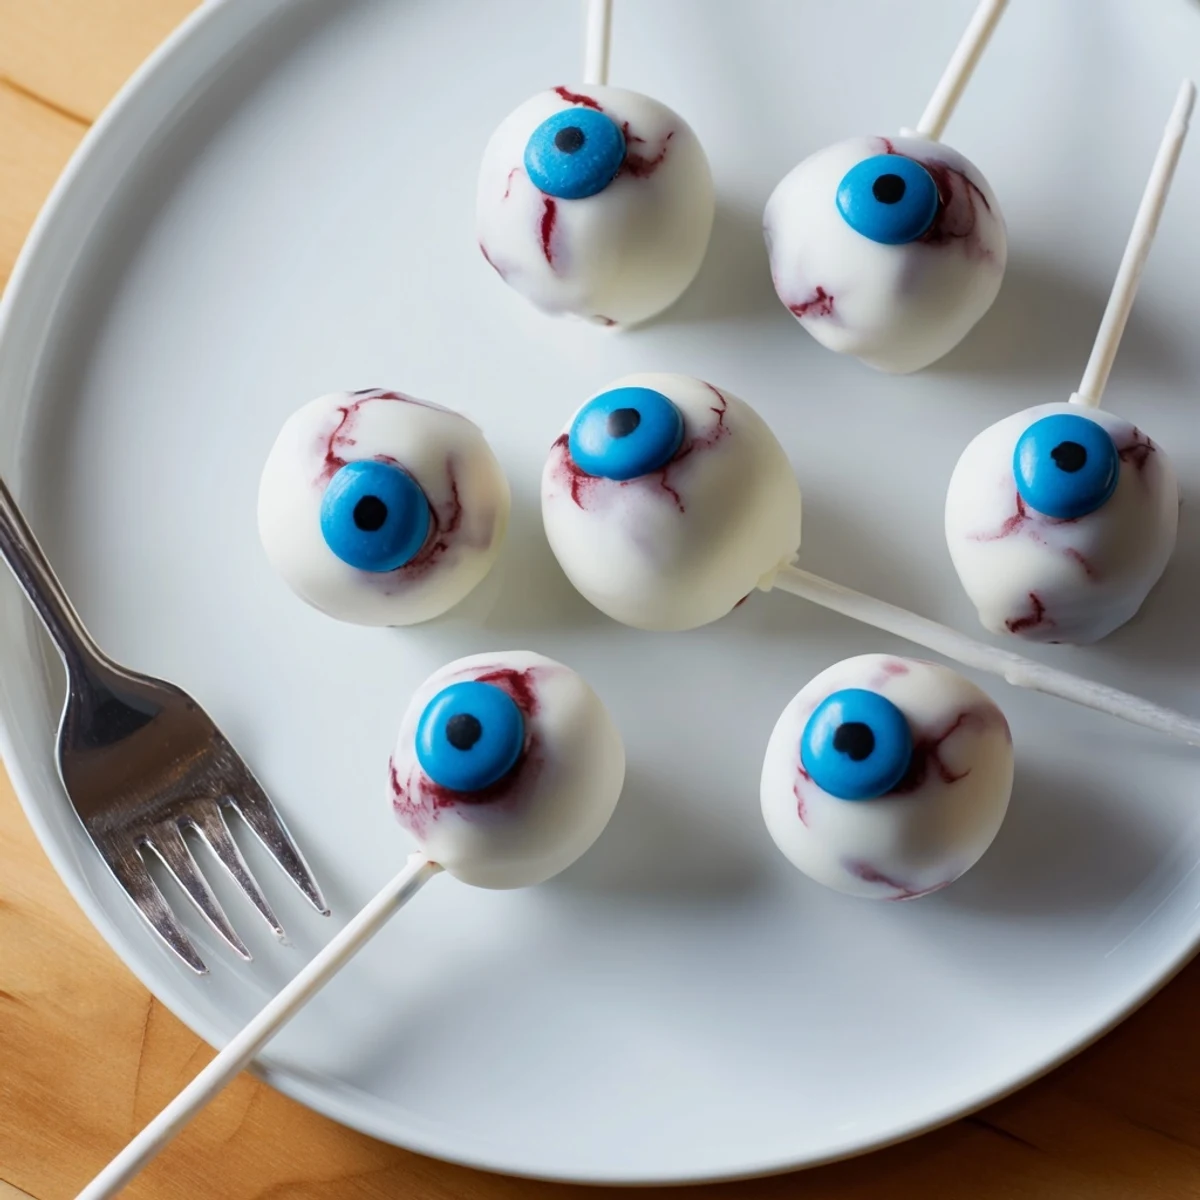
 These festive Halloween treats start with classic vanilla cake crumbled and mixed with a rich cream cheese buttercream frosting. The mixture is rolled into smooth balls, chilled until firm, then dipped in melted white chocolate for a perfect coating. Each eyeball gets a colorful iris using blue or green candy melts, a dark chocolate pupil center, and spooky red gel veins for that authentic creepy-crawly look. The result is a deliciously moist, chocolate-covered dessert that's as fun to make as it is to eat. Perfect for Halloween parties, school gatherings, or any spooky celebration where you want treats that taste amazing and look delightfully eerie.
Last October, my niece decided she wanted to help me make Halloween treats and insisted on something more creative than regular cookies. I suggested these creepy eyeball cake pops, and she immediately started practicing her most convincing shocked face every time she walked into the kitchen. We ended up with white chocolate smeared across our cheeks and blue decorating gel accidentally dotted on our noses, laughing every time one of the pupils came out crooked. They were the first dessert to disappear at the party.
I made these for my office Halloween potluck one year when I completely forgot about dessert until the morning of. The freezer time saved me, and I found myself dipping cake balls at 6am with coffee in one hand and a skewer in the other. My coworker actually asked if I bought them from a specialty bakery, which I took as the ultimate compliment considering I was still wearing pajamas.
Ingredients
- Vanilla cake mix (or 400 g homemade vanilla cake): Box mix works beautifully here, but homemade gives you control over sweetness
- 3 large eggs: Room temperature eggs incorporate more evenly into the batter
- 120 ml vegetable oil: Keeps the cake incredibly moist and tender
- 240 ml water: Use exactly as directed for the right consistency
- 100 g cream cheese, softened: Let it sit out for at least an hour to avoid lumpy frosting
- 100 g unsalted butter, softened: Same temperature as the cream cheese for smooth blending
- 200 g powdered sugar: Sift it first if you want frosting as silky as possible
- 1 tsp vanilla extract: Pure extract makes a noticeable difference in depth of flavor
- 400 g white chocolate or white candy melts: Candy melts set harder and are easier for beginners
- 50 g dark chocolate or black candy melts: These create the perfect dramatic pupil
- 50 g blue or green candy melts OR colored icing: Go for unnatural, vibrant colors for the creepiest effect
- Red gel food coloring or red decorating gel: Gel consistency works better than liquid for drawing veins
Instructions
- Bake and cool the cake:
- Preheat your oven to 180°C (350°F) and prepare the vanilla cake according to package or recipe instructions. Let it cool completely because warm cake will turn your filling into a gooey mess that refuses to form balls.
- Create fine crumbs:
- Crumble the cooled cake into a large bowl until only fine crumbs remain. I use my hands for this, breaking apart any larger pieces by rubbing them between my palms until the texture is uniformly sandy.
- Make the creamy filling:
- In a separate bowl, beat cream cheese, butter, powdered sugar, and vanilla extract together until smooth and creamy. This should take about 2 to 3 minutes with an electric mixer on medium speed.
- Combine everything:
- Mix the frosting with the cake crumbs until combined and the mixture holds together when pressed. Start with less frosting and add more gradually since you can always add but cannot subtract.
- Shape the eyeballs:
- Scoop out tablespoons of the mixture and roll into 24 balls, placing them on a parchment-lined tray. Chill in the freezer for 20 minutes because cold balls are much easier to dip without falling apart.
- Coat with white:
- Melt the white chocolate or candy melts gently, then dip each cake ball in the melted coating, fully enrobing it. Tap off excess gently and place back on the tray for the smoothest finish possible.
- Add colorful irises:
- For the iris, pipe or dip a small amount of colored candy melt (blue or green) onto the center of each ball while the coating is still soft. Work quickly because once the white coating sets, the color will not adhere properly.
- Create pupils:
- Once set, add a small dot of dark chocolate or black candy melt for the pupil. A toothpick works perfectly for placing tiny dots precisely where you want them.
- Draw spooky veins:
- Use red gel food coloring or red decorating gel to draw spooky little veins around the eyeball. Less is more here, thin irregular lines look more realistic than thick ones.
- Set and serve:
- Allow all decorations to set completely before serving, about 15 to 20 minutes in the refrigerator. These are best served chilled for the firmest texture.
 Pin It
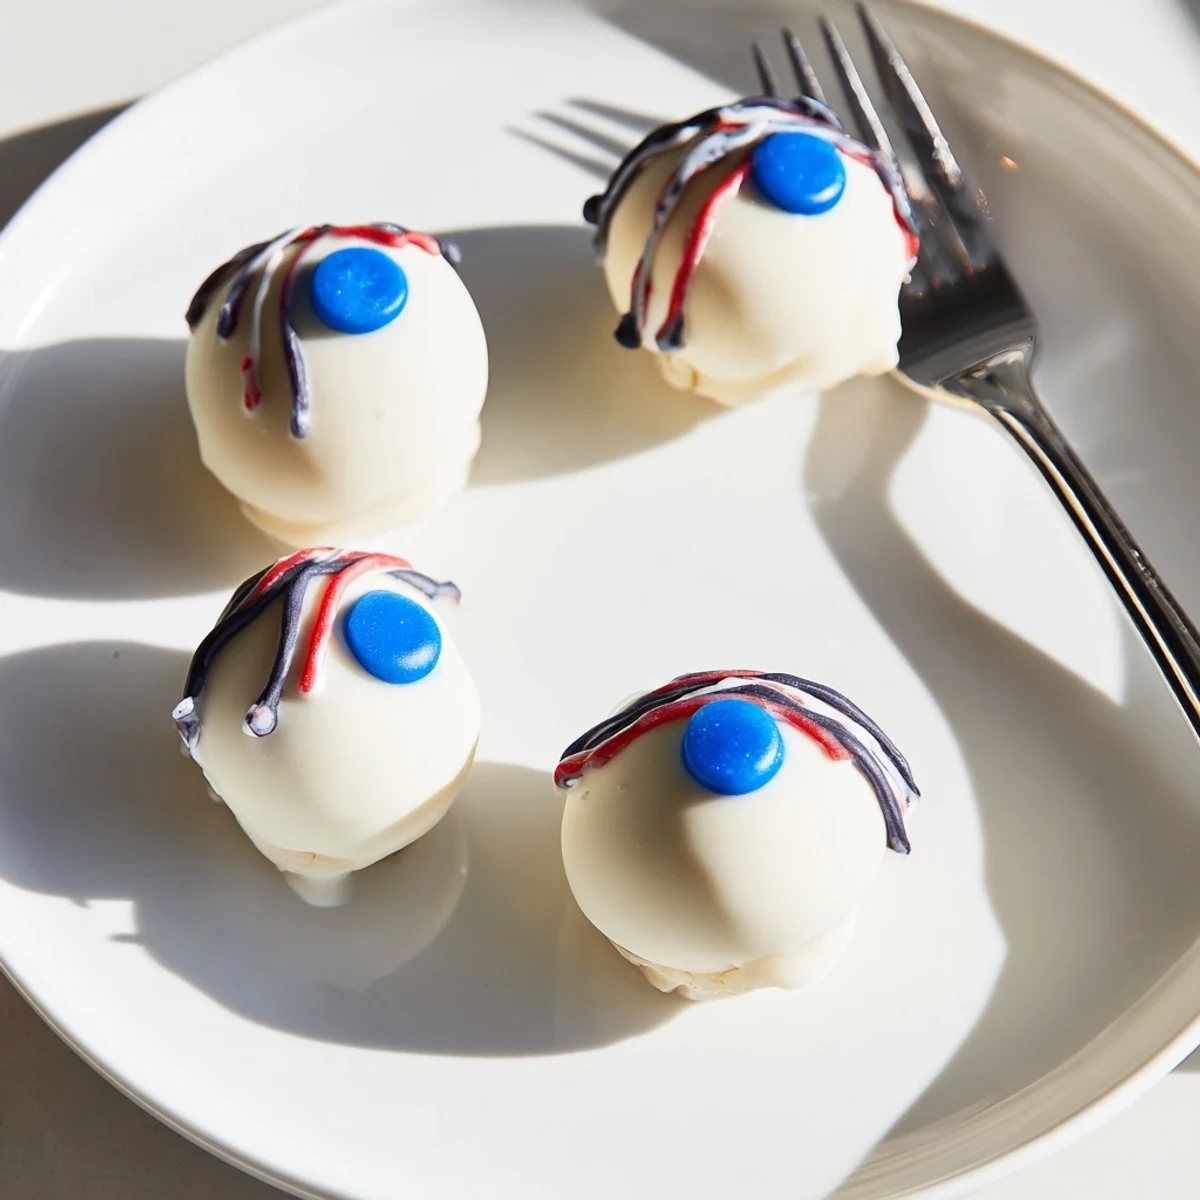
 My daughter now requests these for her birthday every year, completely ignoring that they are supposed to be Halloween themed. She calls them her special eyeball cakes and asks to help paint the veins, which always end up looking more like squiggly smiles than scary blood vessels.
Make Them Your Own
I have tried using store-bought pound cake or brownies instead of vanilla cake, and both work wonderfully for different textures. The pound cake gives you a denser, more substantial bite, while brownies make them fudgy and rich. You can also hide a small cherry jam center inside each ball before freezing for a bloody surprise when someone bites into it.
Working With Chocolate
Melting candy melts is more forgiving than real chocolate, but you still need to be gentle with the heat. I use 30 second bursts in the microwave, stirring in between, until the consistency is like heavy cream. If your coating seems too thick for smooth dipping, add a teaspoon of vegetable oil to thin it out without affecting the set.
Storage And Serving
These keep beautifully in the refrigerator for up to a week, which actually makes them perfect for making ahead of parties. The texture firms up nicely when chilled, making them less messy to eat and easier to handle. I have also frozen the undecorated balls for up to a month, then thawed and decorated them the day before serving.
- Insert cake pop sticks before the white coating fully sets if you want them on sticks
- Keep them away from direct sunlight or warm rooms because the decoration will smudge
- Set up your decorating station with all colors open and ready before you start dipping
 Pin It
 Hope your Halloween is deliciously spooky and filled with plenty of laughter in the kitchen.
Recipe FAQ
- → How far in advance can I make these Halloween eyeball treats?
-
You can prepare these treats up to 2 days in advance. Store them in an airtight container in the refrigerator to maintain freshness and keep the chocolate coating firm. The cake balls actually benefit from chilling, which helps them hold their shape and makes the coating extra crisp.
- → Can I use homemade cake instead of a boxed mix?
-
Absolutely! Homemade vanilla cake works wonderfully and may even enhance the flavor. Just ensure the cake is completely cooled before crumbling, and you have approximately 400g of cake to work with. Many home bakers prefer using homemade cake scraps or a freshly baked vanilla sponge.
- → What other colors work for the iris decoration?
-
Beyond blue and green, you can create purple, amber, or even bloodshot red irises using candy melts or gel food coloring mixed with white chocolate. Some creative bakers make different colored eyeballs for variety at parties. Just ensure whatever coloring you use is oil-based or specifically made for chocolate to prevent seizing.
- → Why do my cake balls fall apart when dipping in chocolate?
-
This usually happens if the mixture isn't moist enough or hasn't been chilled sufficiently. The key is achieving the right ratio of frosting to cake crumbs — the mixture should hold together when squeezed but not feel wet or sticky. Freezing the formed balls for at least 20 minutes before dipping is crucial for maintaining their shape during the coating process.
- → Can I make these without cream cheese for the filling?
-
Yes, you can substitute the cream cheese with additional butter or use a different frosting base like chocolate ganache or even marshmallow fluff. The filling needs to be creamy enough to bind the crumbs together. Some variations use Nutella, peanut butter, or even caramel sauce for different flavor profiles while maintaining the necessary binding properties.
- → What's the best way to melt the chocolate for coating?
-
Melt white chocolate slowly using either a double boiler or microwave in 30-second intervals, stirring between each burst. White chocolate is more delicate than dark and can seize easily, so avoid overheating. Adding a teaspoon of coconut oil or vegetable shortening helps achieve a smooth, dippable consistency that coats evenly.