 Pin It
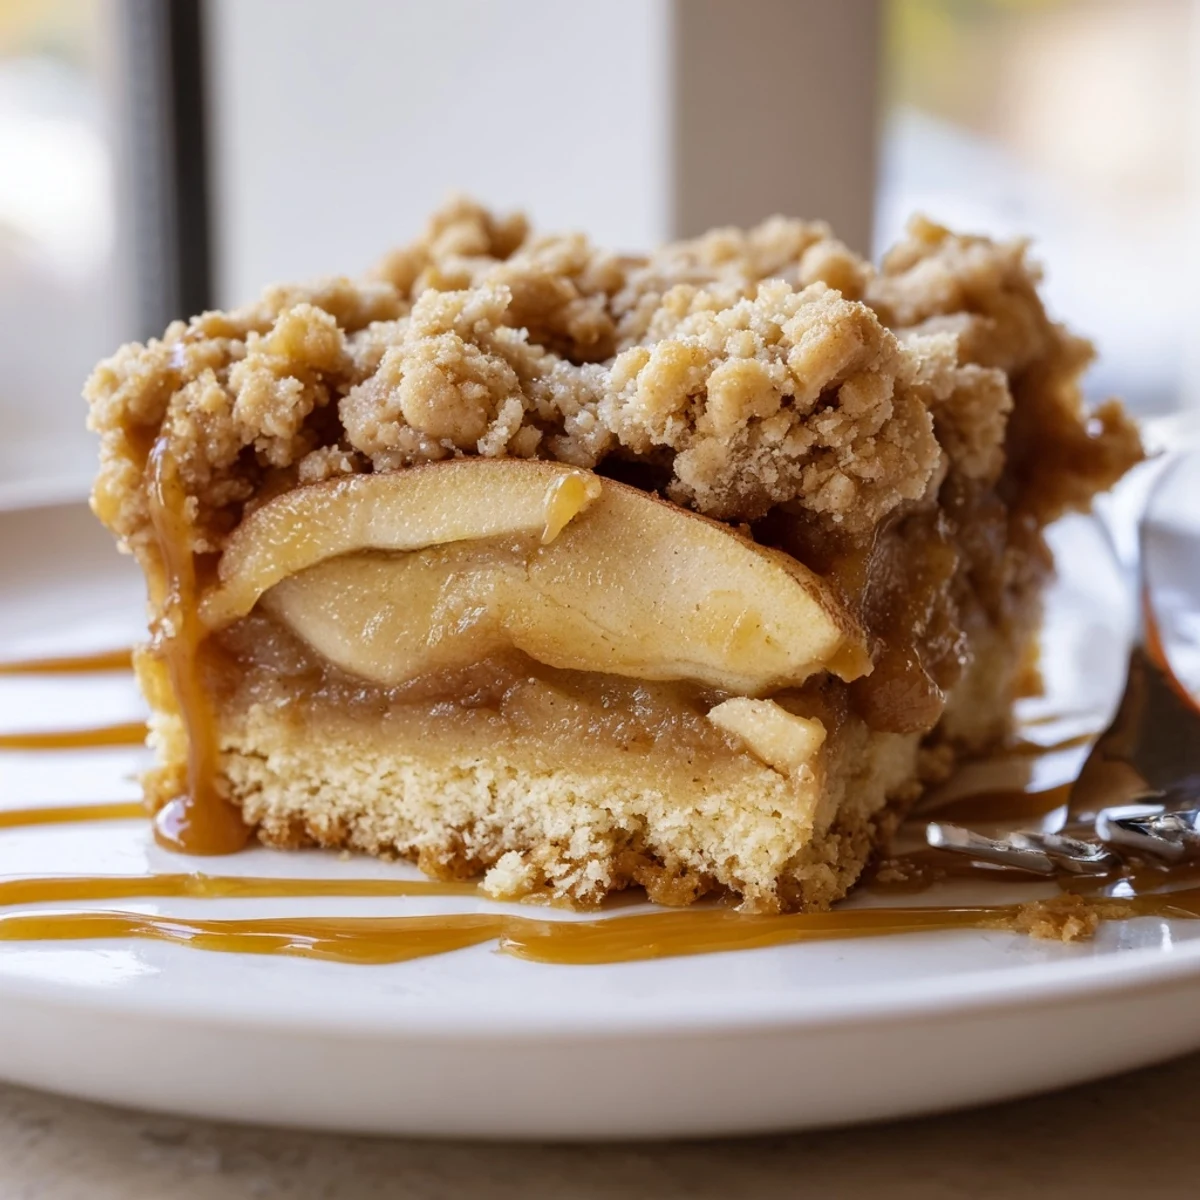
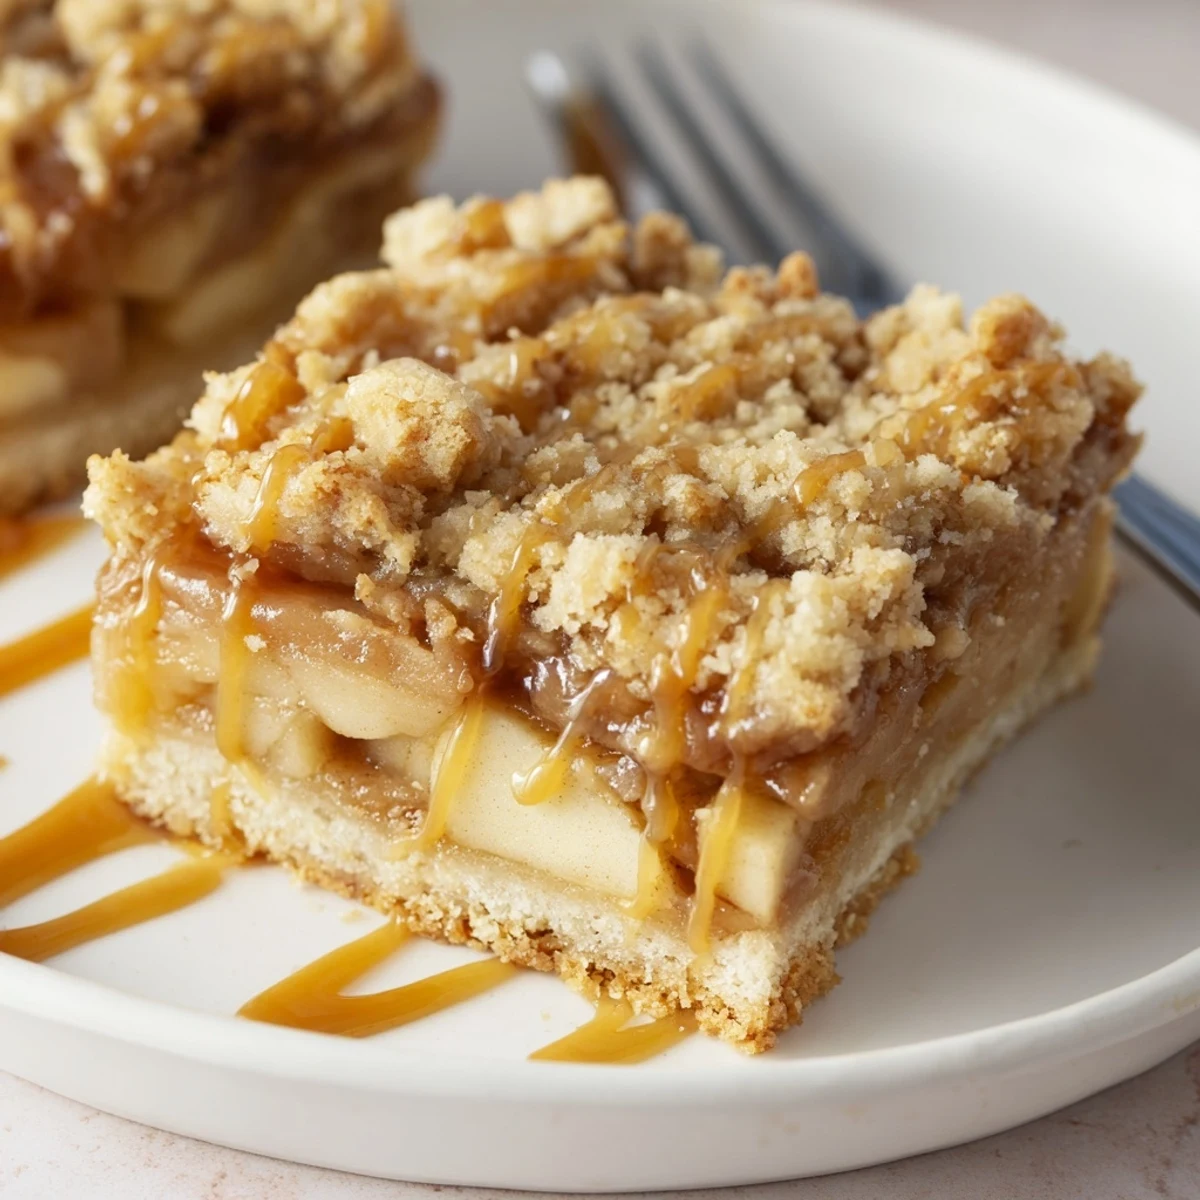
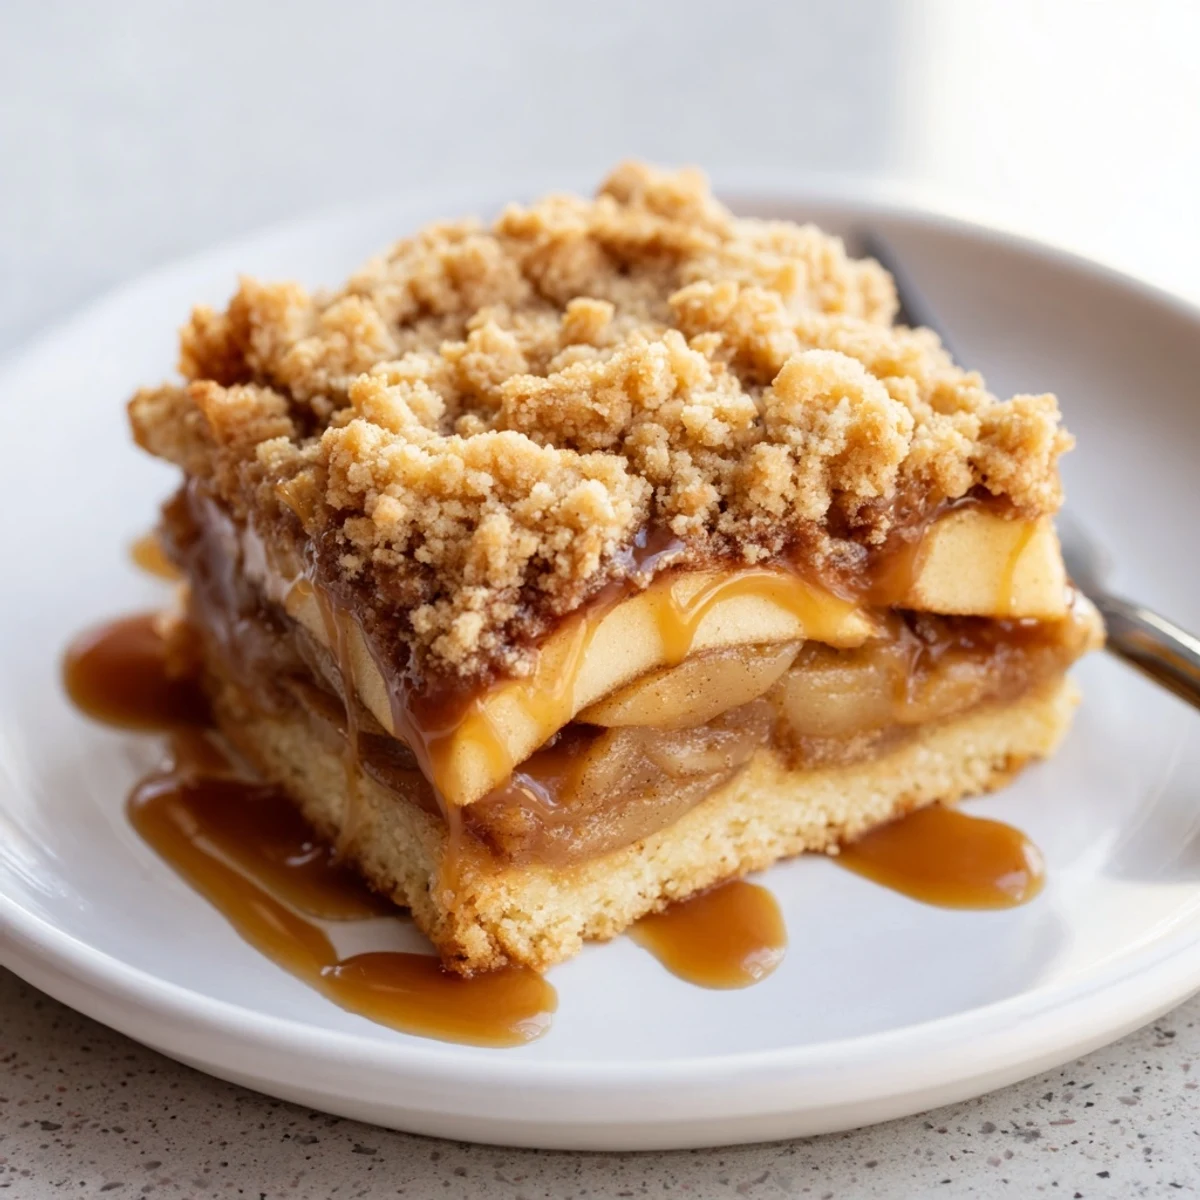
 These caramel apple crumb bars feature a tender, buttery shortbread crust that provides the perfect foundation for layers of cinnamon-spiced apples and rich caramel sauce. The topping bakes into golden crumbs that add satisfying texture to every bite. With a total prep and bake time of just over an hour, this dessert captures the essence of autumn flavors in a convenient, portable bar format that serves 16 people.
My kitchen smelled like an orchard meets a bakery the first time I made these caramel apple crumb bars. I was experimenting with what to do with a bushel of apples from a weekend trip to the countryside, and somehow ended up with this golden, crumbly masterpiece that my roommates ate before they'd even cooled completely.
Last autumn I brought a batch to a potluck and watched them disappear within fifteen minutes. Someone actually asked for the recipe before finishing their first bite, which I consider the highest compliment possible for any dessert.
Ingredients
- All-purpose flour: Forms the foundation of both the tender shortbread crust and the buttery crumb topping that gives these bars their signature texture
- Unsalted butter: Must be cold and cubed to create that perfect crumbly texture in both the crust and topping layers
- Granulated sugar: Sweetens the dough and balances the tartness of the apples while helping the crust achieve that lovely light golden color
- Salt: Enhances all the flavors and keeps these bars from tasting one-dimensionally sweet
- Vanilla extract: Adds that warm, comforting background flavor that makes everything taste homemade
- Fresh apples: Peel and slice them thinly so they bake down to tender perfection while still holding their shape slightly
- Lemon juice: Keeps the apples from browning and adds a bright, fresh note that cuts through all that rich caramel
- Ground cinnamon: Pairs perfectly with apples and gives the filling that classic fall spice flavor everyone loves
- Caramel sauce: Store-bought works perfectly, though homemade adds an extra special touch to each gooey, golden layer
Instructions
- Preheat your oven and prepare the pan:
- Set your oven to 350°F and line a 9x9-inch baking pan with parchment paper, letting the edges hang over slightly so you can lift the bars out later like a pro.
- Make the crumbly dough:
- Whisk together flour, sugar, and salt in a large bowl, then cut in the cold butter using a pastry cutter until the mixture looks like coarse, buttery sand and stir in the vanilla.
- Reserve topping and form crust:
- Set aside about 1 1/2 cups of the dough mixture, then press the rest firmly and evenly into the bottom of your prepared pan to create the base.
- Par-bake the crust:
- Bake for 12 minutes until just set, which prevents the bottom from getting soggy when you add those juicy apples later.
- Prepare the apple filling:
- Toss your thinly sliced apples with lemon juice, sugar, flour, and cinnamon until every piece is coated in that spiced, sweet mixture.
- Layer the filling:
- Spread the apples evenly over the hot crust, then drizzle that gorgeous caramel sauce all over the top like you mean it.
- Add the crumb topping:
- Sprinkle your reserved dough mixture over the apples and caramel, creating an uneven, rustic layer that will bake into golden, buttery crumbs.
- Bake to golden perfection:
- Return to the oven for 28 to 32 minutes until the topping is light golden brown and you can see those apples bubbling up through the crumbs.
- Cool completely before cutting:
- Let the bars cool completely in the pan, then use the parchment to lift them out and cut into perfect squares.
 Pin It
 These bars have become my go-to when I need something that feels special but doesn't require me to stress out in the kitchen. There is something so satisfying about peeling apples while listening to the radio and knowing something wonderful is about to happen.
Making Your Own Caramel
While store-bought caramel sauce works perfectly, making your own is easier than you might think. Simply melt sugar with a bit of water, stir in some cream and butter, and you have something that will make these bars absolutely unforgettable.
Choosing Your Apples
I have learned the hard way that some apples turn to mush while others stay stubbornly crisp. A mix of varieties gives you the perfect texture, with some apples breaking down into saucy sweetness while others hold their shape nicely.
Storage and Serving
These bars actually taste better the next day as the flavors meld together and the crust softens slightly. Store them in an airtight container at room temperature and they will stay fresh for several days, assuming they last that long.
- Warm a bar in the microwave for 15 seconds before serving
- Add a scoop of vanilla ice cream if you are feeling especially indulgent
- Package these in pretty boxes for an impressive homemade gift
 Pin It
 There is nothing quite like pulling a golden pan of these from the oven and watching steam rise off the caramel. These bars have become a September through November tradition in my house, and I hope they find their way into yours too.
Recipe FAQ
- → What type of apples work best for these bars?
-
A mix of tart and sweet apples like Granny Smith and Honeycrisp or Fuji provides the best balance of flavor and texture. The apples should hold their shape during baking without becoming mushy.
- → Can I use homemade caramel sauce instead of store-bought?
-
Yes, homemade caramel sauce works beautifully and often has a richer flavor. Just ensure it has cooled slightly before drizzling over the apple layer so it doesn't spread too thinly.
- → How should I store these caramel apple bars?
-
Store the bars in an airtight container at room temperature for up to 3 days. For longer storage, refrigerate them for up to a week, though the crust may soften slightly over time.
- → Can I freeze these bars for later?
-
Yes, you can freeze these bars. Wrap individual squares tightly in plastic wrap and place in a freezer-safe container for up to 3 months. Thaw at room temperature before serving.
- → Why do I need to reserve some of the crumb mixture?
-
Reserving 1 1/2 cups of the dough mixture creates the crumb topping that gives these bars their signature texture and appearance. Without this step, you would only have a bottom crust without the buttery, golden topping layer.
- → What can I use if I don't have a 9x9-inch pan?
-
An 8x8-inch pan will work but may require slightly longer baking time. A 9x13-inch pan will make thinner bars that may bake faster, so check for doneness a few minutes earlier than specified.