 Pin It
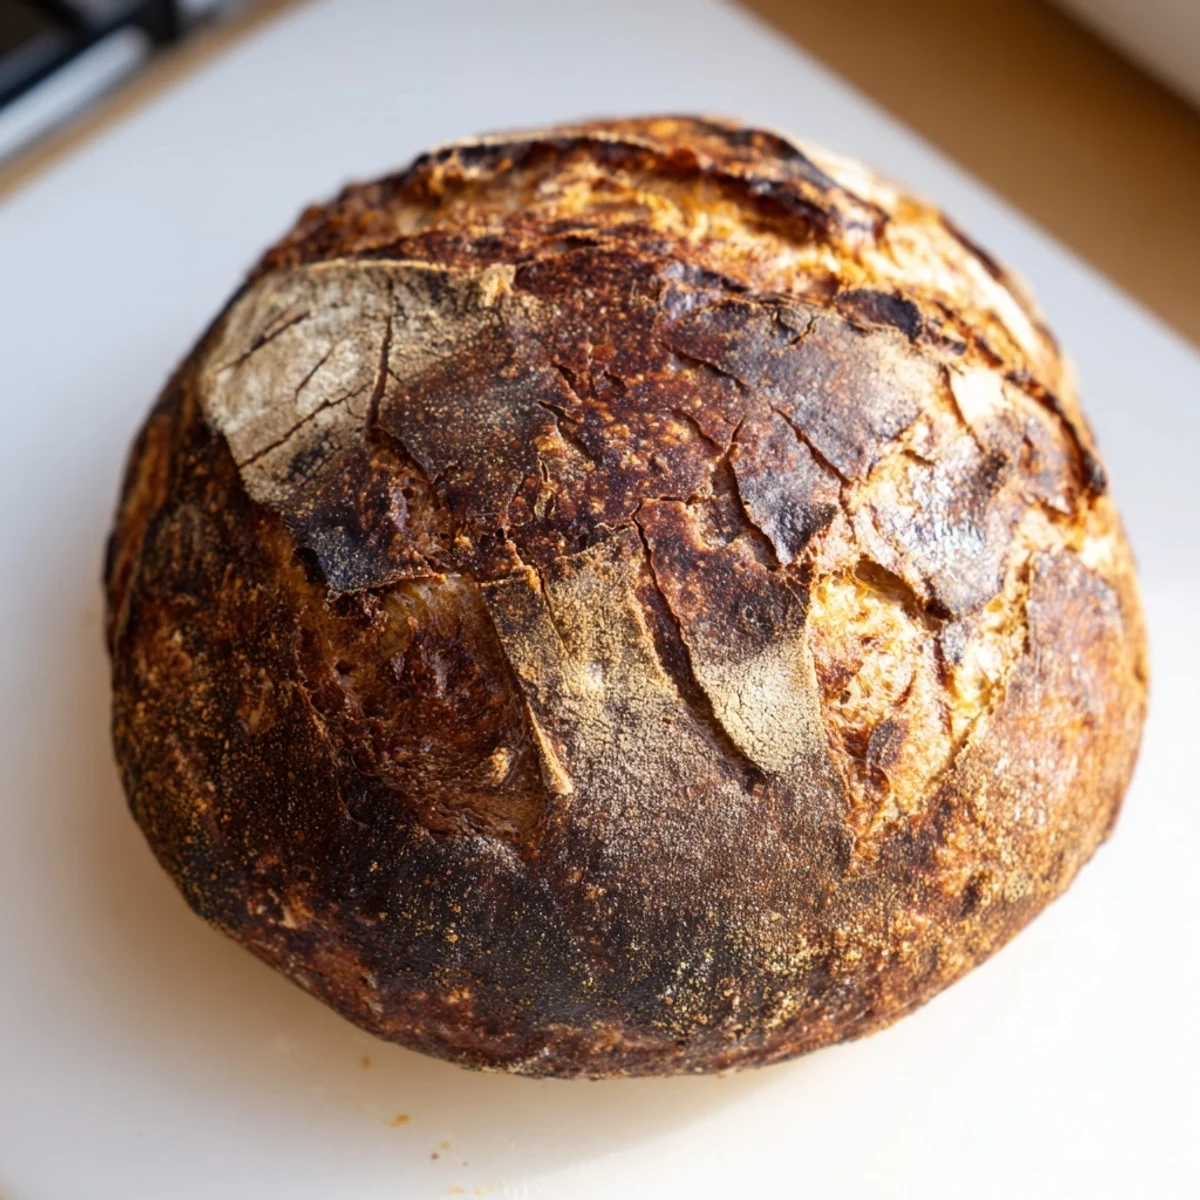
 This rustic European-style loaf delivers professional bakery results with minimal effort. The high hydration dough creates a beautifully crackled crust and airy crumb, while instant yeast ensures reliable rising. Simply mix flour, salt, yeast, and water, let rest, then bake in a hot Dutch oven for that perfect golden finish. No kneading required—just stir, rise, and bake for a homemade loaf that rivals any artisan bakery.
The first time I made this bread, I stood in front of my oven watching through the glass door like it was television. That moment when the dough puffed up dramatically in the heat made me actually gasp out loud, even though I was completely alone in my kitchen.
My neighbor smelled this baking and knocked on my door thinking Id ordered from a bakery downtown. We stood in my hallway breaking off pieces of the still-warm loaf, getting flour everywhere on the floor, neither of us caring one bit.
Ingredients
- Bread flour: The higher protein content creates that satisfying chewy texture and helps the dough develop structure without kneading
- Salt: Do not skip this or reduce it, salt is actually what develops flavor and controls yeast growth
- Instant yeast: You can mix this directly into dry ingredients without proofing first, which saves time and effort
- Lukewarm water: Test it on your wrist like baby formula, too hot kills yeast and too cold makes it sluggish
Instructions
- Mix your foundation:
- Combine the flour, salt, and yeast in a large bowl, stirring thoroughly to distribute everything evenly before adding any liquid
- Bring it together:
- Pour in the water and mix with a wooden spoon until you have a shaggy, sticky dough that looks a bit messy
- Let it work:
- Cover the bowl and walk away for an hour or two until the dough has doubled and looks puffy with bubbles
- Shape gently:
- Turn the dough onto a floured surface and fold the edges underneath to create a rough ball, being careful not to deflate it
- Rest again:
- Place your dough seam-side down on parchment paper, cover it, and let it relax for thirty minutes while your oven heats
- Get things hot:
- Preheat your oven to 450°F and put your Dutch oven inside so it gets screaming hot
- Transfer carefully:
- Lift the parchment with your dough and lower it into the hot Dutch oven, taking care not to burn yourself
- Score the top:
- Use a sharp knife to cut a shallow slash across the top of the loaf, which helps it expand beautifully while baking
- Bake covered:
- Put the lid on and bake for twenty five minutes to create steam, which gives you that crispy crust
- Finish it off:
- Remove the lid and bake another fifteen minutes until deeply golden, then cool completely before slicing
 Pin It
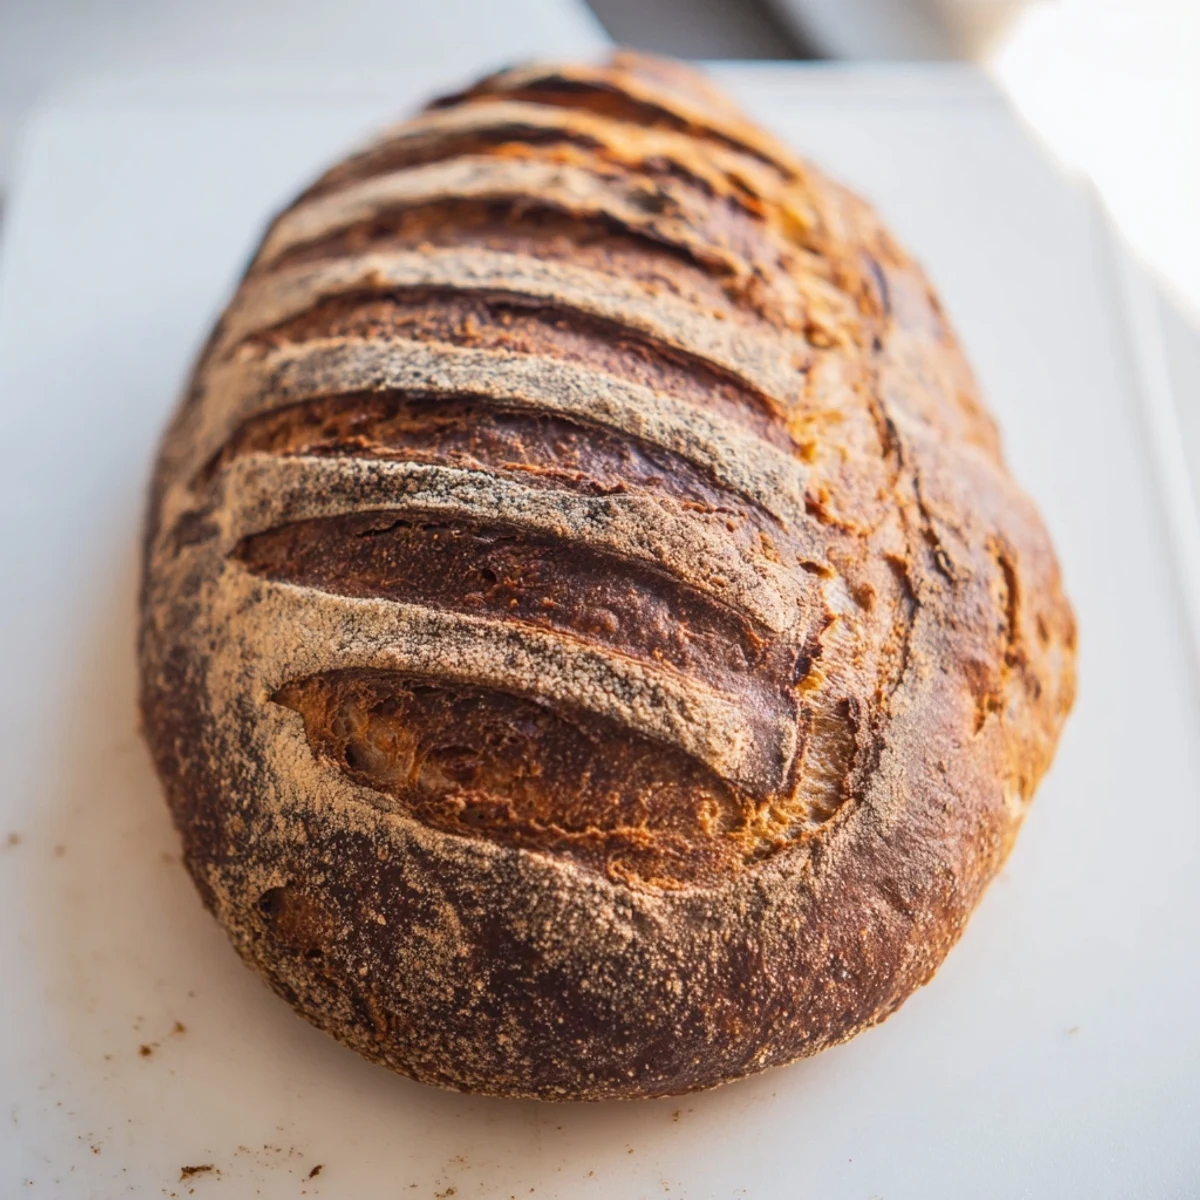
 This bread became my go-to for dinner parties because the house smells incredible while it bakes. Something about pulling a hot loaf from the oven makes people feel like theyre experiencing something special, even though it required almost no effort.
Temperature Secrets
I ruined three loaves before realizing my water was too hot from the tap. Now I use a thermometer to get it exactly 100°F, which is warm to the touch but not hot enough to kill the yeast.
Shaping Confidence
The first time I tried shaping this dough, I kept adding more flour because it felt too sticky. That was my mistake, the stickiness is exactly what creates those beautiful air pockets inside.
Storage Wisdom
Fresh bread dries out faster than you expect, so I slice what I will eat in two days and freeze the rest immediately. It toasts beautifully from frozen and tastes nearly as good as the first day.
- Store cut side down on a cutting board, not in plastic bags
- Revive slightly stale bread by sprinkling with water and reheating at 350°F for ten minutes
- Never refrigerate fresh bread, it actually speeds up staling
 Pin It
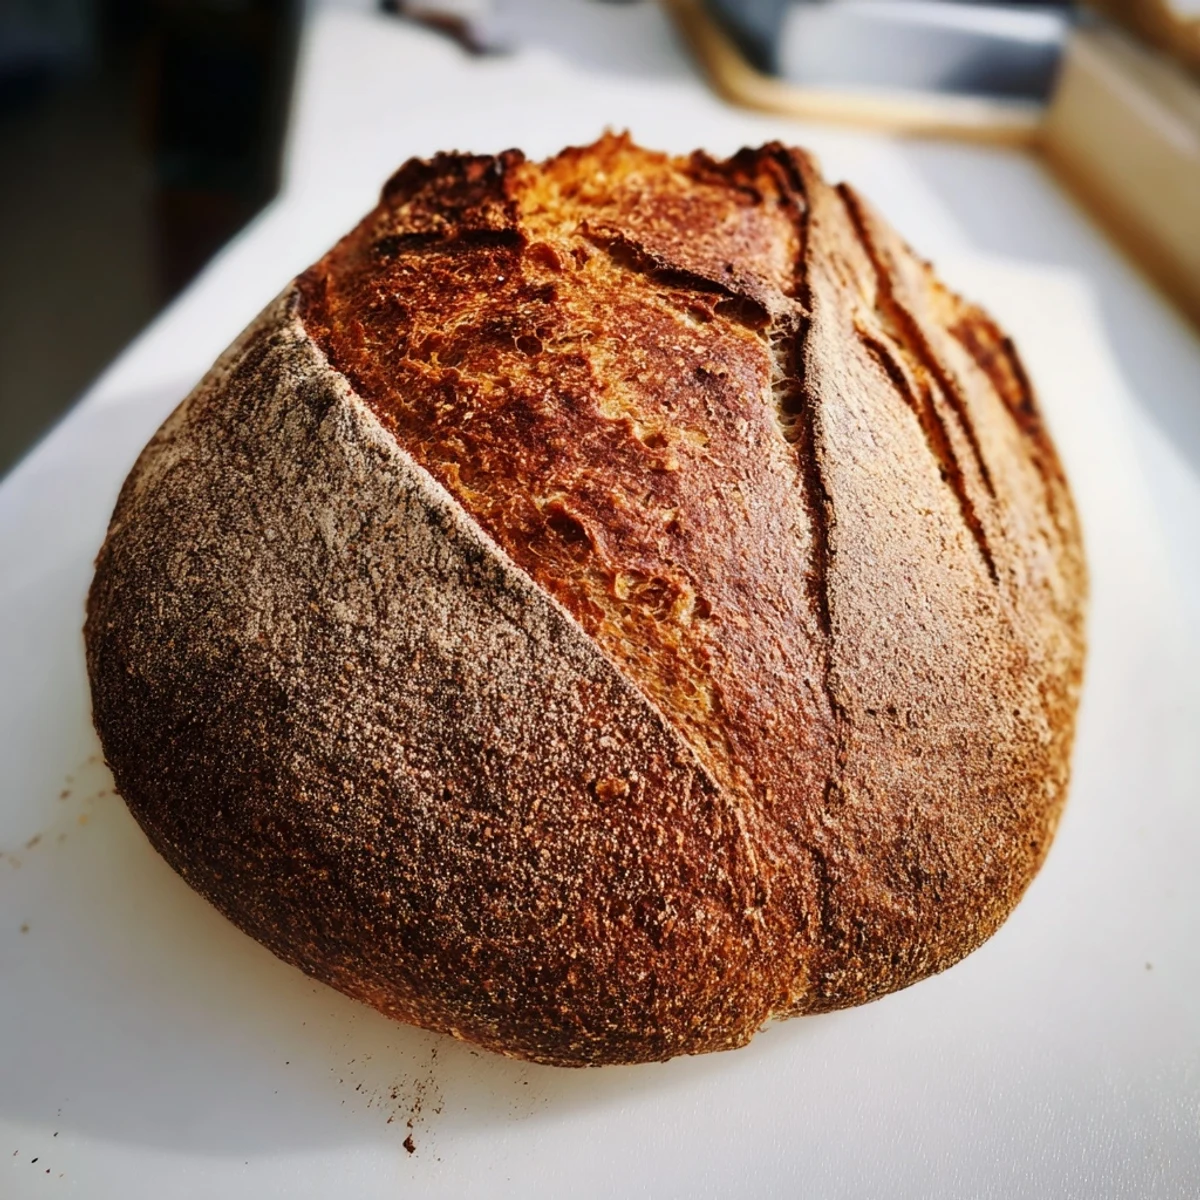
 There is something deeply satisfying about making bread with your own hands, especially when you realize how little effort it actually takes. Your kitchen is going to smell amazing.
Recipe FAQ
- → Do I need to knead the dough?
-
No kneading is required for this rustic loaf. The high hydration creates strong gluten strands on its own during the rising period, resulting in a naturally chewy texture without any physical kneading work.
- → Can I make this without a Dutch oven?
-
Yes, you can use a heavy baking sheet or pizza stone instead. The Dutch oven helps create steam for a crispy crust, but baking on a preheated sheet will still yield excellent results with a golden exterior.
- → How do I know when the loaf is fully baked?
-
The crust should be deep golden brown, and when you tap the bottom of the loaf, it should sound hollow. This indicates the interior has cooked through and excess moisture has evaporated.
- → Why does the dough need to rise for so long?
-
The long fermentation develops flavor and creates the characteristic airy crumb structure. During this time, yeast produces carbon dioxide bubbles while enzymes break down starches, enhancing both taste and texture.
- → What's the purpose of scoring the bread?
-
Scoring creates controlled weak points in the surface, allowing the dough to expand properly during baking. This prevents unsightly tearing and gives the loaf that classic artisan appearance with an attractive burst pattern.