Pin It
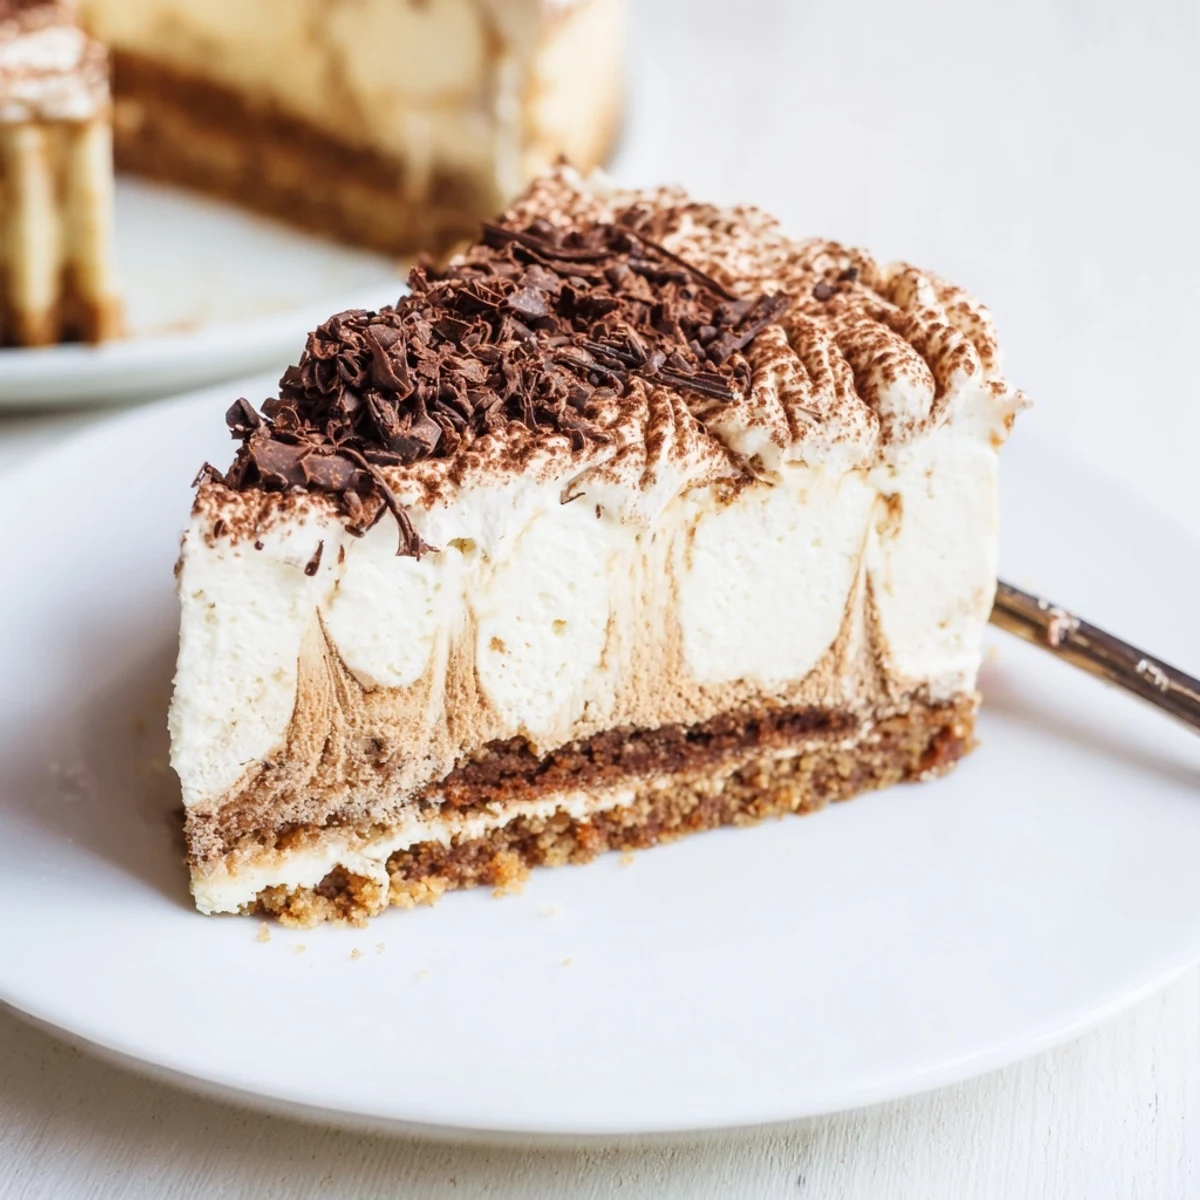
 This luscious coffee-infused tiramisu cheesecake layers a crisp ladyfinger cookie crust with a smooth cream cheese and mascarpone filling enriched by brewed espresso and vanilla. After a light espresso soak, bake in a water bath until just set, cool slowly, then chill overnight. Finish with whipped cream, cocoa dusting and chocolate shavings for a silky, celebratory dessert.
When I first set out to blend my two dessert obsessions—tiramisu and cheesecake—I could hardly imagine how heavenly the result would be. The scent of freshly brewed espresso drifting through my apartment as I worked always put me in a slightly mischievous mood, as if I were up to something secret. Swirling mascarpone and cream cheese together, I couldn't help but swipe little tastes from the spatula, enjoying that classic tang mellowed by a gentle hit of coffee. There's something undeniably triumphant about seeing the cocoa-dusted surface and knowing the reward that awaits after hours of patient chilling.
I made this tiramisu cheesecake for a casual Saturday dinner after a particularly long week, and my roommate's eyes widened at the first forkful. There was this moment of complete silence around the table, broken only by a friend quietly asking if there was any way I could pack a piece for her breakfast the next day. Now, every time this dessert appears, there's a little flurry of excitement before the first slice is even cut.
Ingredients
- Ladyfinger biscuits (savoiardi): They break into crumbs easily and provide an airy, delicate crunch that holds up after soaking—don’t be tempted to substitute if you love that classic flavor.
- Unsalted butter: Use high-quality butter for the base; I learned that letting it cool just slightly before combining prevents sogginess.
- Instant espresso powder: Whisk it directly into the crumb mixture for an even, bold coffee note—clumpy powder won’t distribute well.
- Cream cheese: Always soften it to room temperature for lump-free mixing, making for that dreamy, smooth bite.
- Mascarpone cheese: This adds signature tiramisu silkiness—gently fold it in so the richness stays light.
- Granulated sugar: Sweetens without dominating; blending slowly helps prevent graininess in the filling.
- Eggs: Bring to room temperature and add them one by one, beating just until incorporated for best texture.
- Strong brewed espresso: Let it cool before pouring it in or you’ll melt your cheese base and risk a runny filling.
- Vanilla extract: Don’t skip it—the warmth counterbalances the coolness of espresso beautifully.
- All-purpose flour: This binds everything, ensuring clean, sturdy slices after chilling.
- Salt: Just a pinch sharpens the creaminess and rounds out sweetness.
- Coffee liqueur (optional): Adds elegance to the soak, but it’s totally fine left out for a booze-free treat.
- Heavy cream: Chill the bowl and beaters to whip it swiftly into fluff for the topping.
- Powdered sugar: Sift it in—it melts seamlessly into the whipped cream and avoids gritty bits.
- Cocoa powder: Dust this on just before serving for a picture-perfect finish and that familiar tiramisu aroma.
- Dark chocolate shavings: Optional but irresistible—a little extra drama for special dinners.
Instructions
- Get everything ready:
- Preheat your oven to 160°C (325°F), and line a springform pan with parchment—having a cup of coffee close by helps set the pace.
- Make the crust:
- In a food processor or with a rolling pin, blitz the ladyfingers to fine crumbs, then stir in the butter and espresso powder until you smell the coffee bloom in the air.
- Form and bake the base:
- Press the crumb mixture into the pan with the back of a spoon, making sure it’s even and a little compact; bake for ten minutes and enjoy the scent of the crust toasting.
- Mix coffee soak:
- Combine hot espresso, sugar, and liqueur in a small bowl—wait for the sugar to dissolve, then set aside until cool.
- Prepare the cheesecake filling:
- In your biggest bowl, beat cream cheese, mascarpone, and sugar until the mixture loses all lumps, then add eggs, espresso, vanilla, flour, and salt, mixing until barely combined and silky.
- Coffee soak the crust:
- Liberally brush or drizzle half the coffee soak over the warm crust, letting it absorb for a minute—use more if you love strong coffee flavor.
- Pour and bake:
- Gently spoon the filling onto the crust, tap to release bubbles, then bake in a water bath for an hour—peek through the oven window and watch as it puffs and settles.
- Cool gradually:
- When the timer dings, turn off the oven, prop the door open, and let the cheesecake rest for an hour so it doesn’t crack.
- Chill for perfection:
- Let the cake reach room temperature, then move it to the fridge for at least four hours or overnight for that classic dense and creamy bite.
- Whip the cream topping:
- With a chilled bowl, whip cream, powdered sugar, and vanilla until stiff peaks hold—stir in patience, it takes under five minutes.
- Assemble and finish:
- Run a knife around the cake, release it from the pan, and optionally brush the top with a little more coffee soak.
- Top and serve:
- Smooth the whipped cream over, dust generously with cocoa powder, scatter chocolate shavings, and serve cold—best eaten with close friends or after a long day.
 Pin It
 One birthday, I brought this cheesecake out as a surprise, complete with candlelight and extra chocolate on top. Watching everyone clink forks and laugh, I realized how food sometimes captures the mood of a celebration better than words ever could.
Choosing and Treating Your Coffee
After a few attempts, I discovered that strong, slightly bitter espresso gives the best contrast to the sweet filling. Switching to a high-quality instant espresso powder for the crust made it easier to get a consistent flavor without brewing two different coffees.
Cheesecake Troubleshooting You’ll Thank Me For
If you ever see a little crack on top, don’t panic—it gets covered with whipped cream anyway. Crust feeling too moist? Try letting the cake cool longer in the oven with the door ajar before moving it to the fridge, as it helps dry out the base a little more.
Top Tips for Serving and Storage
I like letting the cheesecake sit out of the fridge for 10-15 minutes before slicing, which makes for cleaner cuts with less sticking. If you’re storing leftovers, cover loosely so the cocoa doesn’t soak in and lose its powdery charm. For make-ahead, you can freeze the undecorated cheesecake for up to a month; thaw in the fridge overnight before topping fresh.
- Use a hot knife for perfect slices each time.
- Press plastic wrap directly onto the cake surface if refrigerating to prevent cracks from forming overnight.
- Always add cocoa and chocolate shavings just before serving for the freshest flavor and appearance.
 Pin It
 This dessert has a way of gathering everyone around, forks first, conversation second. If you give it time to chill and savor every step, it never fails to turn out special.
Recipe FAQ
- → How do I prevent cracks while baking?
-
Bake the cheesecake in a water bath to keep the oven environment moist and even. Avoid overmixing the batter, bake until the center is just set (it will still jiggle slightly), then cool slowly with the oven door ajar before chilling.
- → Can I omit the coffee liqueur?
-
Yes. Leave out the liqueur and use extra hot espresso or brewed coffee in the soak for the same bold coffee flavor without alcohol.
- → What’s the best way to get a smooth filling?
-
Bring all dairy ingredients to room temperature, beat cream cheese and mascarpone until completely smooth before adding eggs one at a time, and fold in espresso gently to avoid incorporating excess air.
- → How long should it chill before serving?
-
Chill at least 4 hours, preferably overnight. Extended chilling helps the filling set fully and deepens the flavor from the coffee soak.
- → Are there good substitutions for ladyfingers?
-
Digestive biscuits or any firm tea biscuit work well for the crust. Pulse to fine crumbs, mix with melted butter and espresso powder, then press firmly into the pan.
- → Can this be prepared ahead and frozen?
-
Yes. Freeze the un-topped, fully chilled cheesecake wrapped tightly for up to one month. Thaw overnight in the refrigerator, then top with whipped cream and cocoa before serving.