 Pin It
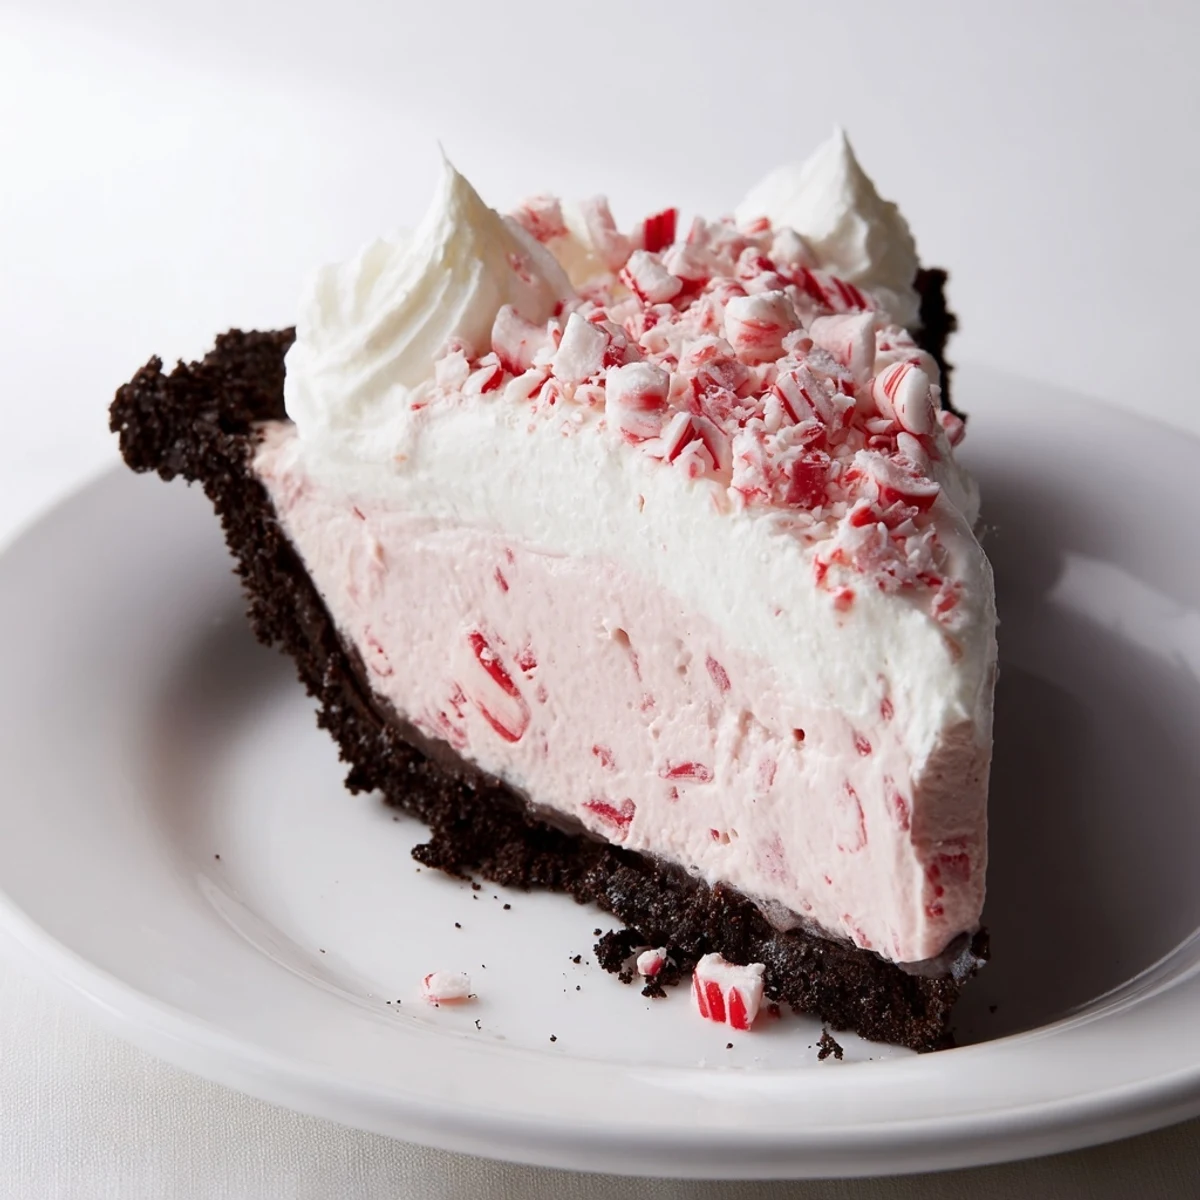
 This no-bake peppermint pie pairs a pressed chocolate cookie crust with a light, creamy filling. Press crumbs with melted butter, whip cold heavy cream to stiff peaks, then beat cream cheese with powdered sugar and peppermint. Fold in whipped cream, mini marshmallows and crushed candy canes, pour into the chilled crust and refrigerate at least 4 hours. Top with whipped cream and extra candy cane before serving; adjust peppermint to taste.
There was a chilly December evening when I started crushing candy canes with a rolling pin, shards flying everywhere, and suddenly the kitchen smelled like sweet, minty snow. I hadn’t intended to make anything fancy—just something quick, festive, and guaranteed to cheer up the long week. That first time, I didn’t even own a pie dish and had to borrow one from a neighbor, but somehow the Candy Cane Pie still stole the spotlight. The sound of clinking spoons and quiet laughter that night sticks with me in the best way.
The very first time I made this for a friendsgiving dinner, everyone circled the table before dessert just to take in the peppermint and chocolate aroma. I remember laughing as we tried cracking the crust with dull forks and ended up passing the pie around like a pizza, messy smiles and all. It didn’t matter how uneven the slices were—every bite melted away chilly weather and brought another round of giggles. Since then, this has become my low-pressure contribution to winter celebrations both big and small.
Ingredients
- Chocolate cookie crumbs: The deep cocoa flavor grounds the pie, and finely crushing them helps create an even, no-bake base (I learned to use a rolling pin instead of a food processor for better texture).
- Unsalted butter: Melted butter binds the crust; use just enough to hold things together but not so much that it gets greasy.
- Heavy whipping cream: A chilled bowl and beaters make for the fluffiest whipped cream layer—don’t rush this step.
- Cream cheese: Softened cream cheese blends best, giving the pie its tangy, creamy body (I sometimes forget to let it sit out, but a quick microwave zap on low works in a pinch).
- Powdered sugar: Sifts in smoothly for sweetness without any graininess—don’t skip the sifting if possible.
- Vanilla extract: Just half a teaspoon rounds out the mint, softening the sharpness.
- Peppermint extract: A little goes a long way (I once used too much and ended up with accidental toothpaste pie—start slow).
- Mini marshmallows: These add bouncy, chewy surprises in the filling and help it keep its soft shape.
- Crushed candy canes: Sprinkle some into the mix and save extra for topping—that crunch is the signature finishing touch.
- Red food coloring (optional): A drop or two turns the filling a playful pink—just swirl, don’t overmix, for a pretty marbled effect.
- Whipped cream: For topping, piped or spooned on right before serving; I always make a little extra for sneaky tastes.
- Extra crushed candy canes or peppermint candies: The best decorations are edible and shimmery—these stay crunchiest if you keep them dry until serving.
Instructions
- Make the crust:
- Stir chocolate cookie crumbs and melted butter in a bowl until it looks like damp sand. Press the mixture firmly into your pie dish, making sure to get up the sides evenly, then tuck it into the refrigerator to set while you get dreamy with the filling.
- Whip the cream:
- Pour the cold heavy cream into a chilled bowl and whisk or beat on high until you see thick peaks standing tall—don’t stop too soon, but watch for over-beating.
- Create the filling:
- In another bowl, blend the softened cream cheese, powdered sugar, vanilla, and peppermint extract until creamy and smooth, feeling the beaters warm up as the mixture thickens.
- Fold and swirl:
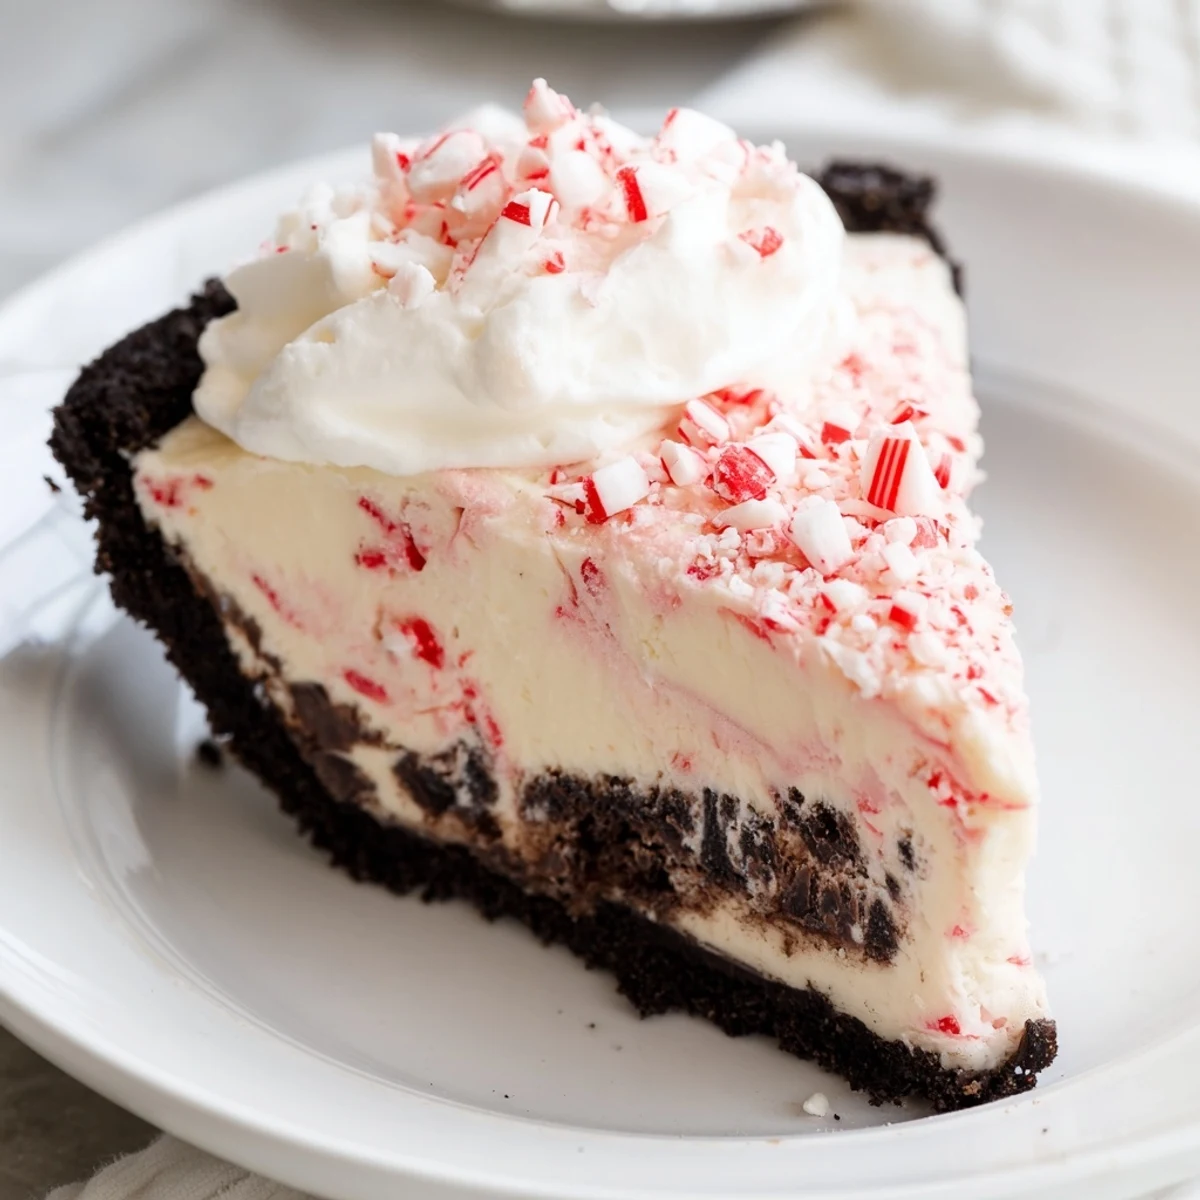
- Gently fold in your whipped cream, then add mini marshmallows and crushed candy canes—if you’re after a pink swirl, scatter in a few drops of red food coloring and give just a couple of turns with a spatula.
- Assembly time:
- Spoon the minty filling into your chilled crust, smoothing with a spatula so it's generously full and lusciously inviting.
- Chill and set:
- Cover the pie and let it rest in the fridge for at least four hours, or until it’s nicely sliceable and holds together (overnight is even better).
- Add the toppings:
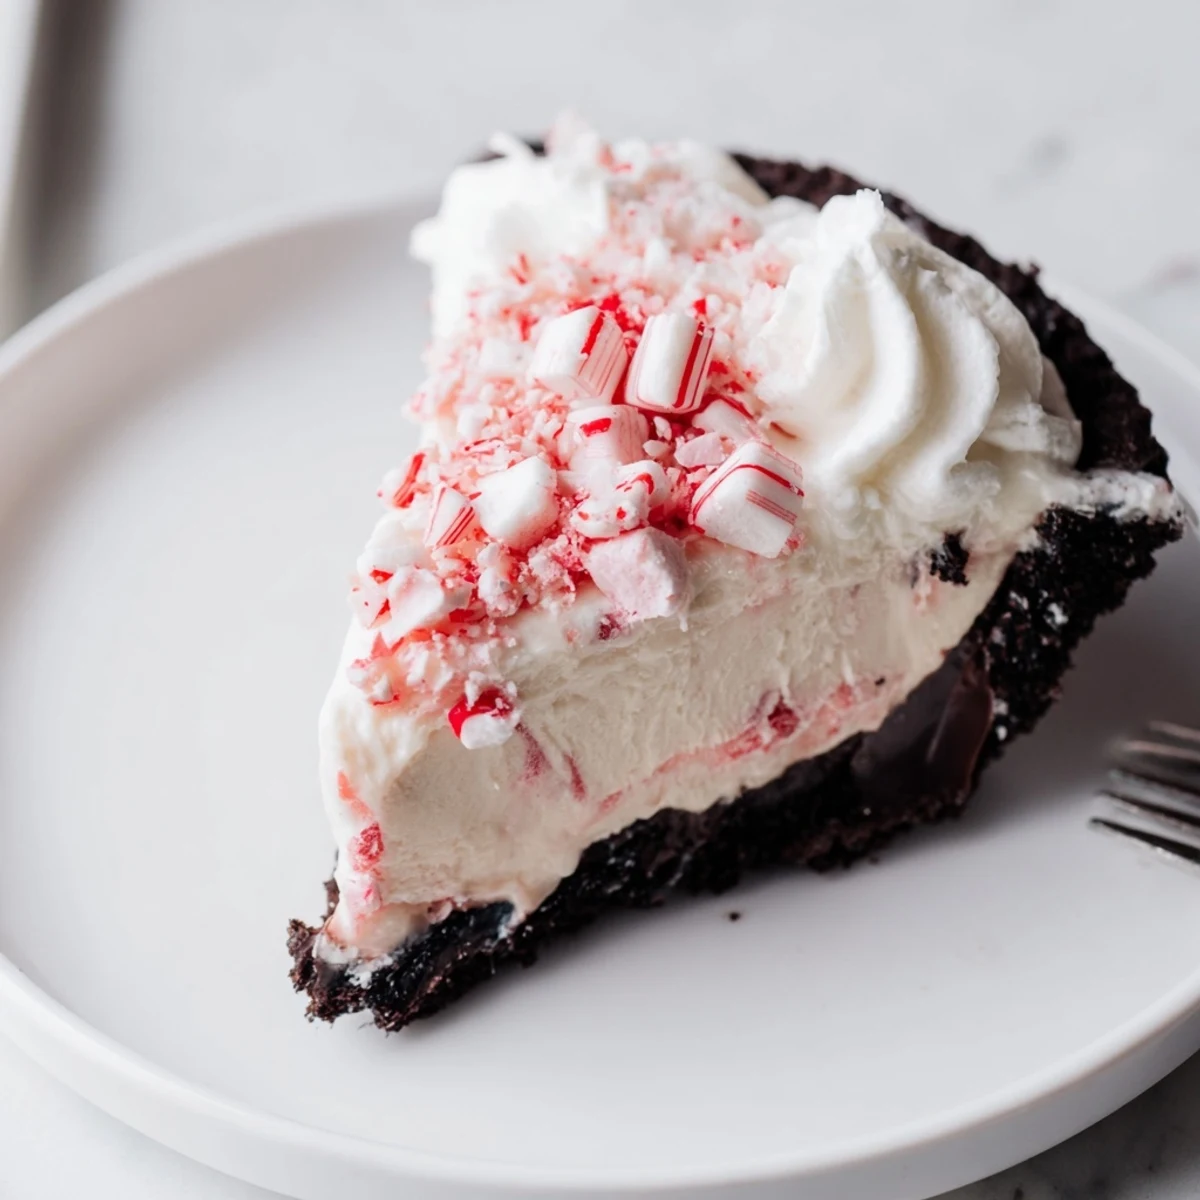
- Just before serving, crown your pie with dollops or swirls of whipped cream and a pretty scattering of crushed candy canes—the sound as you sprinkle them is pure holiday magic.
 Pin It
 I remember sharing slices with my niece on the floor by the twinkling tree, both of us hunting for the biggest marshmallow pieces with our forks. For a moment, the whole world shrank to just the sounds of forks tapping and whispers about how peppermint can taste like winter itself. That’s when I realized this pie is more than a recipe—it’s a small, shareable celebration.
Candy Canes: The Unsung Hero
The sound of candy canes crunching in a zip-top bag always kicks off the holiday spirit for me. I used to worry about uneven pieces, but now I love finding some big and some tiny for variety. The peppermint scent lingers in the kitchen hours after baking, becoming as much a part of the memory as the taste itself.
Making It Ahead: Stress-Free Holidays
This pie was a lifesaver when I was running late for a potluck and needed a dessert I could trust not to fall apart in transit. Making it the night before means zero stress on party day and actually makes for cleaner slices the next day. You might even find the flavor deepens just a bit, with the peppermint getting cozy among the marshmallows.
Serving Magic and Sweet Shortcuts
Sometimes I pipe little whipped cream rosettes on top, but a quick cloud of it with a spoon is just as inviting. I learned that letting the pie sit on the counter for 10 minutes before slicing makes serving much easier, and the crust stays crisp if you garnish at the very last second.
- Crush candy canes right before topping to keep their sparkle.
- Don’t skip lining the pie dish with parchment if your crust tends to stick.
- Tuck leftovers back in the fridge fast so the peppermint filling stays perfectly creamy.
 Pin It
 If you’re looking for a dessert that tastes as joyful as the season feels, this Candy Cane Pie never lets me down. Here’s to sneaking just one more slice, no matter how full the house or how chilly the night.
Recipe FAQ
- → How long should the pie chill?
-
Chill for a minimum of 4 hours to allow the filling to set; refrigerating overnight produces firmer slices and more integrated flavors.
- → Can I make the crust gluten-free?
-
Yes—use gluten-free chocolate cookie crumbs in place of regular cookies and press them firmly with melted butter to form a stable crust.
- → How do I prevent a runny filling?
-
Whip the heavy cream to stiff peaks and ensure the cream cheese is fully softened and beaten with the sugar. Fold gently to retain volume and avoid weeping.
- → Is freezing an option?
-
You can freeze the pie wrapped tightly for up to a month. Thaw in the refrigerator overnight and add fresh whipped topping before serving to maintain texture.
- → How can I control the peppermint flavor?
-
Begin with half the peppermint extract called for, taste the sweetened cream cheese mixture, and add more in small increments—peppermint extract is potent.
- → Any tips for serving clean slices?
-
Garnish just before serving to keep the candy cane crunchy. Use a hot, clean knife for slicing and wipe between cuts for neat portions.