 Pin It
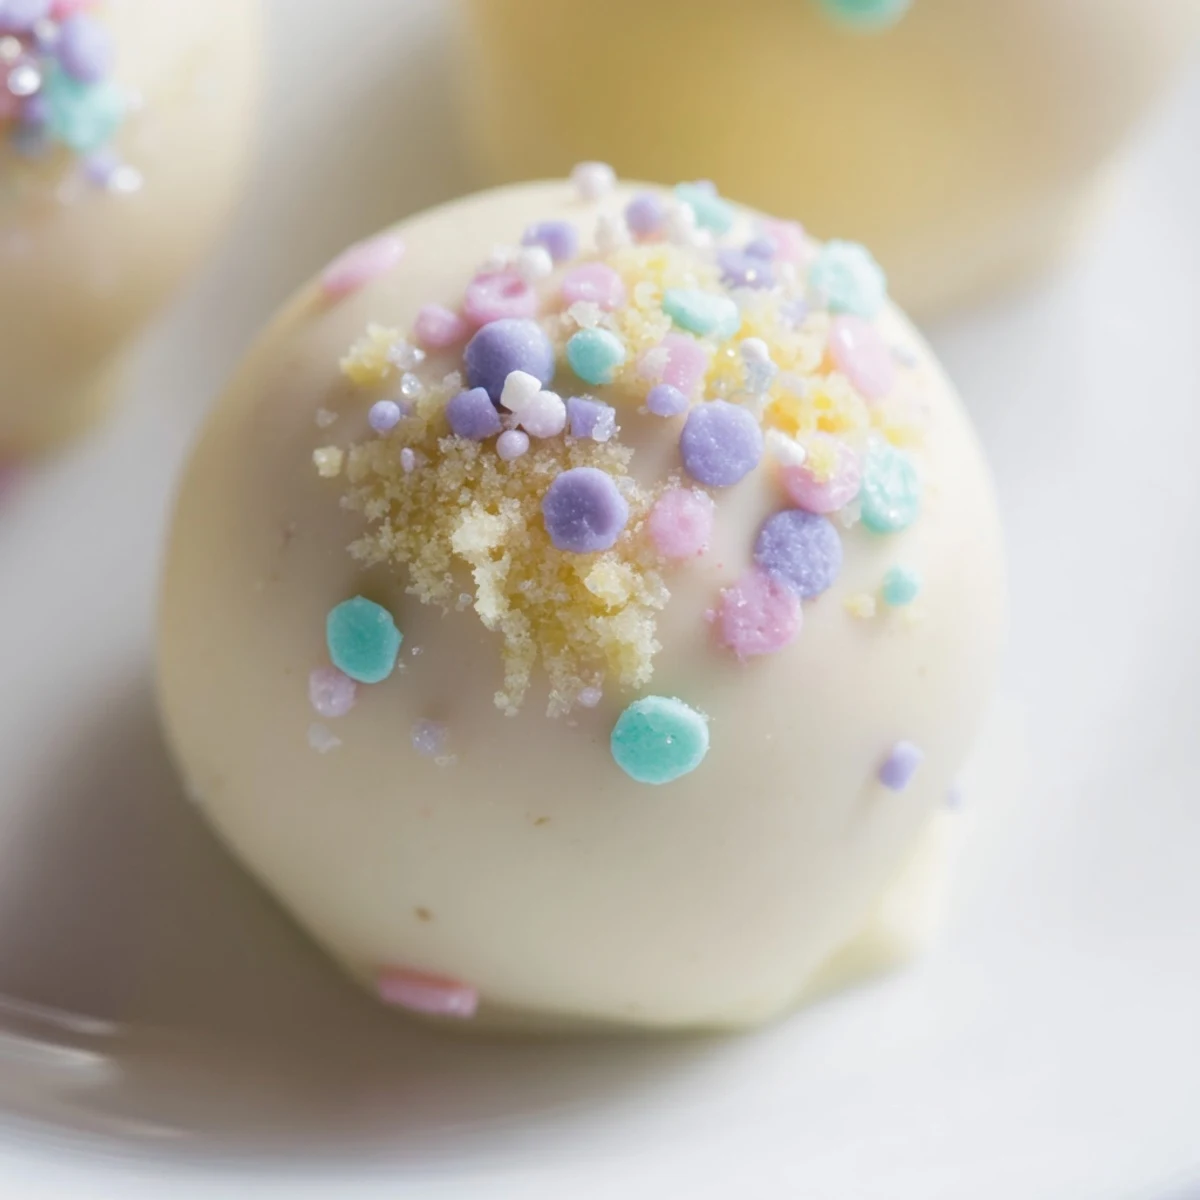
 These delightful no-bake treats combine the classic flavors of creamy banana pudding with the satisfying crunch of vanilla wafers. The mixture is rolled into bite-sized balls, chilled until firm, then dipped in smooth white chocolate and topped with colorful Easter sprinkles for a festive finish.
Perfect for spring gatherings, these handheld delights come together in just 25 minutes of active prep time. The chilling step ensures the centers hold their shape during dipping, while the quick-setting white chocolate coating adds a sweet finish that contrasts beautifully with the banana-cream filling.
Last Easter, my niece decided she was too old for the usual egg hunt but still wanted something festive. We ended up in the kitchen experimenting with banana pudding flavors, and these truffles were born from that rainy afternoon of tasting and laughing. Now they're the one thing everyone actually asks for weeks before the holiday arrives.
I brought these to a potluck last spring and watched my friend Sarah's eyes light up after her first bite. She confessed she'd been eating banana pudding out of plastic cups since college, but something about having it in truffle form made it feel fancy and new. Now she texts me every March asking if it's truffle time yet.
Ingredients
- 1 cup cold whole milk: The fat in whole milk makes the pudding base richer and helps the truffles hold their shape better
- 1 package instant banana pudding mix: Do not use cook and serve pudding here, it wont set firmly enough for rolling
- 4 oz cream cheese, softened: Let it sit out for at least an hour so it incorporates smoothly without lumps
- 1 ¾ cups vanilla wafer crumbs: Pulse these in a food processor rather than crushing by hand for an even, sand like texture
- 8 oz white chocolate or candy melts: Real white chocolate can be finicky to work with, so candy melts are more forgiving for beginners
- Easter themed sprinkles or colored sugar: Add these immediately after dipping, or the coating will set before decorations stick
Instructions
- Whisk the pudding base:
- In a medium bowl, whisk together the cold milk and banana pudding mix for 2 minutes until noticeably thickened. The mixture should coat the back of a spoon.
- Beat in the cream cheese:
- Add the softened cream cheese and beat with an electric mixer until completely smooth with no visible lumps.
- Form the dough:
- Fold in the vanilla wafer crumbs until a thick dough forms that holds together when pressed.
- Roll into balls:
- Portion and roll the mixture into 1 inch balls, placing them on a parchment lined baking sheet.
- Chill until firm:
- Refrigerate the truffle balls for at least 30 minutes until they're firm enough to handle without squishing.
- Melt the coating:
- Melt the white chocolate in a microwave safe bowl in 20 second intervals, stirring between each until smooth.
- Dip and decorate:
- Dip each chilled truffle into the melted chocolate, let excess drip off, then immediately add sprinkles before the coating sets.
- Final chill:
- Refrigerate for another 10 to 15 minutes until the chocolate is completely set.
 Pin It
 My daughter helped me decorate a batch last year and proceeded to eat three before I could even photograph them for the family group chat. Her justification was that quality control is serious work, and honestly, I couldn't argue with that logic.
Getting The Consistency Right
The dough should feel like playdough, holding its shape when you roll it but not sticky or crumbly. If it's too soft, the truffles will flatten in the chocolate coating. Too dry and they'll crack when you bite into them.
Dipping Like A Pro
Use a fork to lower each truffle into the chocolate, tap the fork against the bowl edge to remove excess coating, then gently slide it onto parchment. The key is working quickly but calmly, because rushing leads to messy drips.
Make Ahead Magic
These truffles actually improve after a day in the fridge as the flavors meld together. I've made them up to three days before serving and stored them in an airtight container with layers of parchment paper.
- Place a fresh piece of parchment between each layer to prevent sticking
- Let them sit at room temperature for 5 minutes before serving for the best texture
- Keep them away from strong smelling foods in the fridge since white chocolate absorbs odors
 Pin It
 There's something special about popping that whole banana pudding experience into your mouth in one bite. These little truffles have become the way I officially welcome spring into my kitchen.
Recipe FAQ
- → Can I make these ahead of time?
-
Yes, these can be prepared up to 5 days in advance. Store them in an airtight container in the refrigerator until ready to serve.
- → What can I use instead of vanilla wafers?
-
Graham crackers or Nilla wafers work well as substitutes. The crumbs provide structure and that classic crunch that balances the creamy filling.
- → Do these need to be refrigerated?
-
Yes, due to the cream cheese and dairy content, these should be stored in the refrigerator. They can be served chilled or at room temperature.
- → Can I freeze these truffles?
-
Absolutely! Place them in a freezer-safe container for up to 2 months. Thaw in the refrigerator overnight before serving.
- → What other coatings work well?
-
Semi-sweet or dark chocolate creates a rich contrast, while pastel candy melts enhance the Easter theme. You could also roll them in sprinkles or crushed vanilla wafers.
- → How do I prevent the filling from sticking to my hands?
-
Lightly coat your hands with cooking spray or a small amount of softened butter before rolling the mixture into balls. This helps create smooth, uniform truffles.