 Pin It
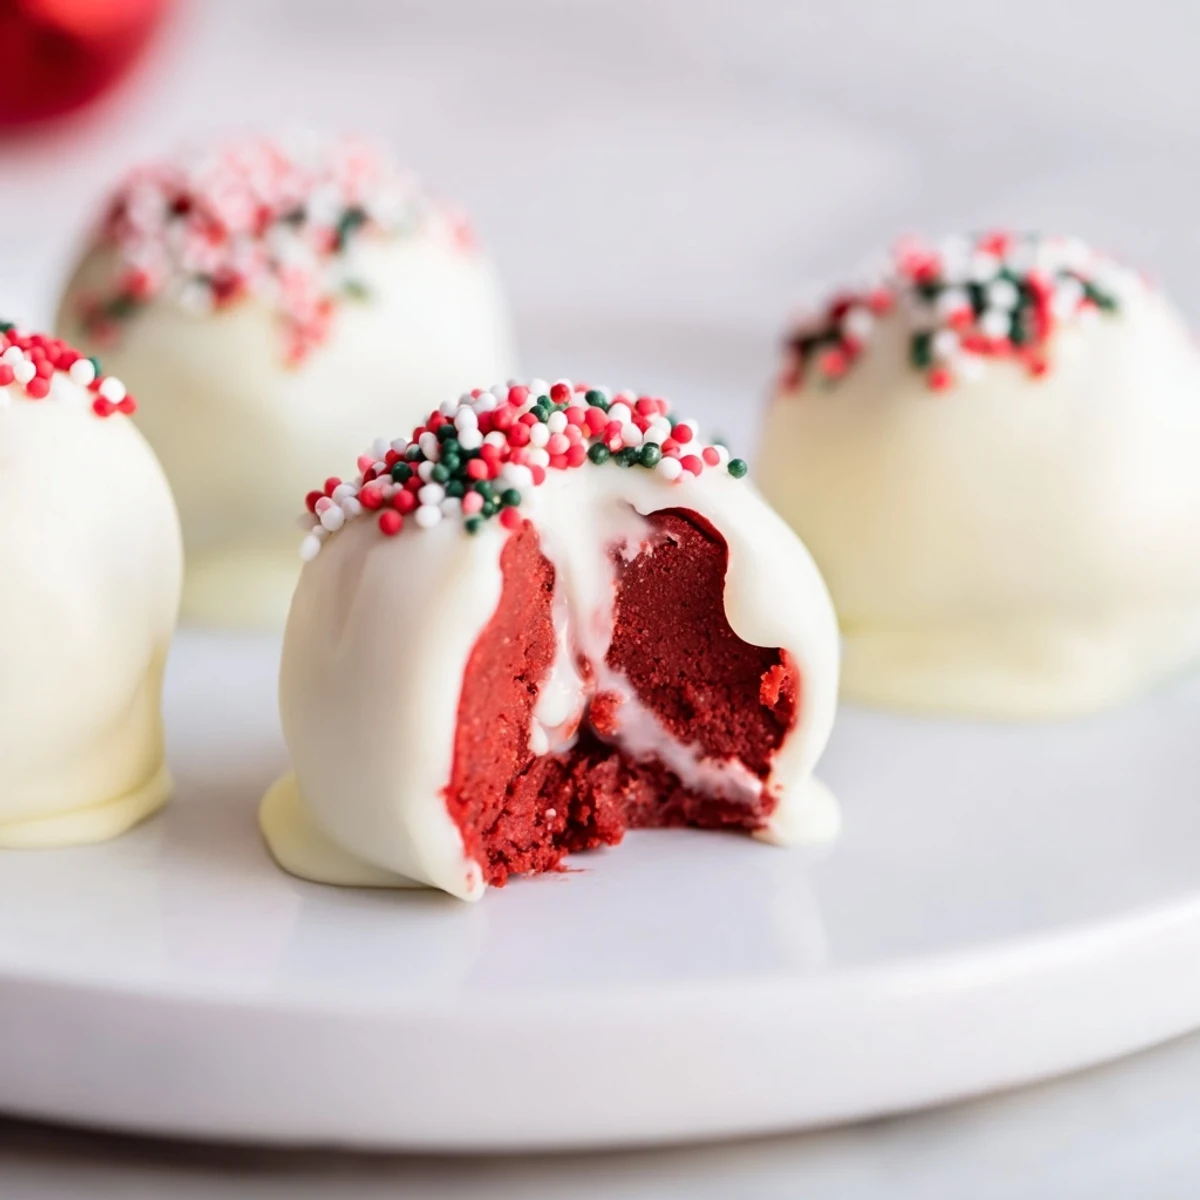
 These elegant no-bake treats transform leftover red velvet cake into luxurious bite-sized indulgences. The process combines crumbled cake with a smooth cream cheese mixture, creating a dense, fudgy dough that's perfectly balanced between sweet and tangy. After chilling to firm, each ball is dipped in melted white chocolate, which adds a creamy sweetness that complements the cocoa notes in the red velvet.
The result is a stunning two-bite dessert that looks impressive yet comes together with minimal effort. The exterior shell provides a satisfying snap, giving way to the soft, velvety interior. These treats are ideal for entertaining since they can be prepared ahead of time and store beautifully in the refrigerator. The versatility of the coating allows for customization—try dark chocolate for a sophisticated twist, or colored white chocolate for seasonal celebrations.
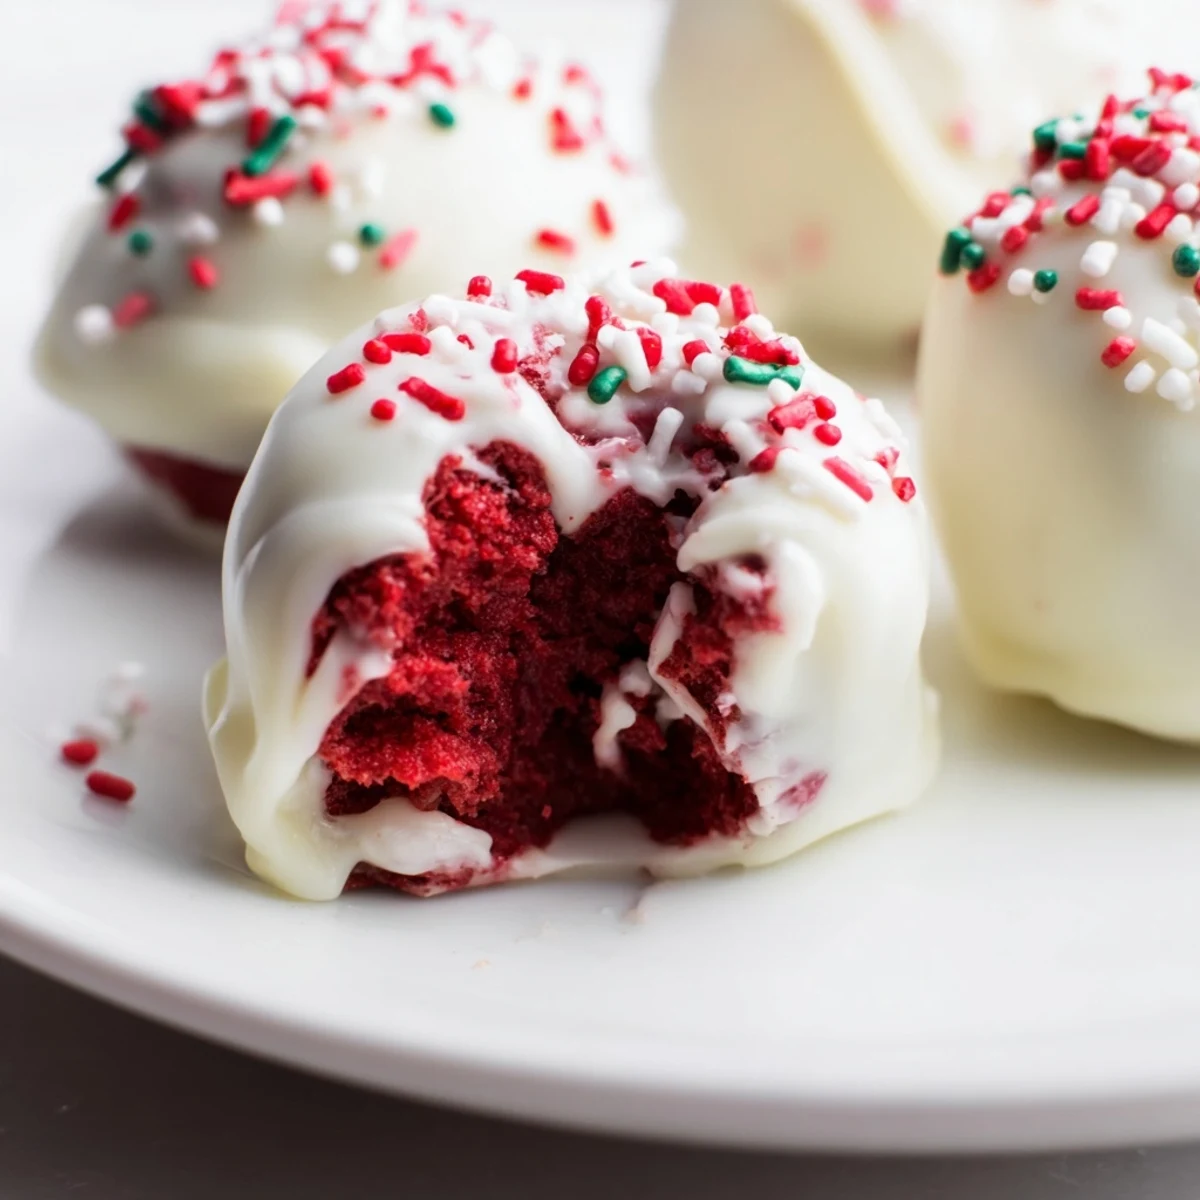
What makes these particularly appealing is their texture profile: the slight crunch of the chocolate coating, the tender cake crumb, and the smooth cheesecake filling create layers of interest in every bite. They're naturally portion-controlled, making them perfect for dessert buffets or gift-giving during the holiday season.
My kitchen counter looked like a crime scene after the first batch, red crumbs everywhere, but those little chocolate dipped orbs were so ridiculous and delicious that nobody cared about the mess. Red velvet cheesecake balls happened because I had half a leftover cake and a block of cream cheese staring each other down in the fridge one lazy Sunday afternoon. Now they show up at every potluck and holiday tray I assemble, and people genuinely think I spent all day on them.
I brought a tray of these to a friends potluck last winter and watched a normally reserved coworker eat four in a row without coming up for air. She cornered me by the snack table and demanded the recipe, which felt like the highest compliment a home cook can get. Something about the combination of familiar red velvet flavor with a surprise cheesecake center makes people lose all restraint.
Ingredients
- Red velvet cake (300 g): Homemade or store bought both work beautifully, though a slightly drier cake actually binds better with the cream cheese filling.
- Cream cheese (150 g, softened): Let it sit out for at least thirty minutes so it blends without lumps, because nobody wants a chunky cheesecake center.
- Powdered sugar (40 g): Just enough sweetness to round out the tang of the cream cheese without making the filling cloying.
- Vanilla extract (1 tsp): Use the real stuff here, it lifts the entire flavor profile of the filling.
- White chocolate (250 g): Chop a good quality bar rather than using chips if you want the smoothest coating, since chips contain stabilizers that resist melting.
- Red gel food coloring (optional): A tiny dot mixed into some of the melted white chocolate creates a gorgeous drizzle for garnish.
- Sprinkles or cake crumbs (optional): Press these on before the chocolate sets for a bakery style finish.
Instructions
- Reduce the cake to crumbs:
- Tear the red velvet cake into pieces and crumble it finely using your fingers or a few quick pulses in a food processor until no large chunks remain.
- Whip the cheesecake filling:
- Beat the softened cream cheese, powdered sugar, and vanilla together in a bowl until the mixture is completely smooth and slightly fluffy, scraping down the sides once or twice.
- Marry the two together:
- Pour the cream cheese mixture over the cake crumbs and work it in with your hands or a spatula until a dense, slightly sticky dough forms that holds together when squeezed.
- Roll into balls:
- Scoop about one tablespoon of dough at a time and roll it firmly between your palms, placing each ball on a parchment lined tray as you go.
- Freeze until firm:
- Slide the tray into the freezer for thirty minutes so the balls firm up enough to handle without collapsing during the dipping step.
- Melt the white chocolate:
- Heat the chopped white chocolate in a microwave safe bowl in thirty second bursts, stirring between each one, until the chocolate is silky and completely smooth.
- Dip each ball:
- Lower a chilled ball into the melted chocolate using a fork, lift it out, and tap the fork gently against the bowl edge so excess chocolate drips away cleanly.
- Decorate and set:
- Return each coated ball to the parchment, add sprinkles or a colored drizzle while the chocolate is still wet, then refrigerate for about fifteen minutes until the shell hardens.
 Pin It
 The moment these became more than just a recipe was when my niece helped me roll a batch and decided each ball needed a name before it went on the tray. We had a Gerald, a Princess Sparkle, and something called Stinky Dave, all lined up in neat rows waiting for their chocolate coats. She still asks if we can make the named ones every holiday.
Storing and Making Ahead
These balls keep beautifully in an airtight container in the refrigerator for up to five days, and the texture actually improves after the first day as the flavors meld. You can also freeze the undipped balls for up to a month, then thaw them in the fridge before coating. If you need to transport them, pack them in a single layer with parchment between rows so the chocolate shells do not crack against each other.
Chocolate Coating Variations
White chocolate is classic for red velvet, but dark chocolate creates a more sophisticated bitterness that balances the sweetness of the cake beautifully. Milk chocolate works too, though it tends to be softer at room temperature so keep the finished balls chilled. For a striking look, dip half in white and half in dark chocolate, then arrange them in alternating rows on a serving plate.
Serving Suggestions and Final Thoughts
Serve these straight from the fridge for the cleanest snap on the chocolate shell, or let them sit at room temperature for ten minutes if you prefer a softer bite. They pair wonderfully with coffee or a glass of cold milk, and a single tray of them can serve as both dessert and decoration at a party.
- Use a small cookie scoop to keep all the balls uniform in size.
- Keep your hands cool while rolling, since warm hands make the dough sticky and hard to shape.
- Always do a test dip with one ball first to check that your chocolate is the right consistency before committing the whole batch.
 Pin It
 Every time I make these, someone asks for the recipe, and I always tell them the same thing: start with leftover cake and zero expectations, and you will end up with the most requested dessert in your rotation. That is the real magic of red velvet cheesecake balls.
Recipe FAQ
- → Can I make these ahead of time?
-
Yes, these store exceptionally well. Keep them in an airtight container in the refrigerator for up to 5 days. The chocolate coating protects the filling from drying out, and they actually develop better flavor after chilling overnight. For longer storage, freeze them for up to 2 months—just thaw in the refrigerator before serving.
- → What if I don't have red velvet cake?
-
You can use any flavor cake as a base—chocolate, vanilla, or even funfetti work beautifully. The method remains exactly the same. If you want to maintain the red color without red velvet cake, use white cake and add red food coloring to the cream cheese mixture before combining with the crumbs.
- → Why do my balls fall apart when dipping?
-
This usually means the dough is too dry or the balls aren't cold enough. Ensure you've mixed the cake crumbs thoroughly with the cream cheese mixture—you should be able to squeeze a handful and have it hold together easily. If the mixture feels crumbly, add another tablespoon of softened cream cheese. Always freeze the balls for at least 30 minutes before dipping; this firms them up significantly.
- → Can I use candy melts instead of real chocolate?
-
Absolutely—candy melts are actually easier to work with since they're designed for coating and set up firmly at room temperature. White candy melts are widely available and can be tinted with gel food coloring. However, real white chocolate offers superior flavor and creaminess. If using real chocolate, adding a teaspoon of coconut oil helps achieve a smoother, more workable consistency.
- → How do I get a smooth chocolate coating?
-
The key is temperature—your chocolate should be warm but not hot, and your balls must be thoroughly chilled. Use a fork to lower each ball into the chocolate, lift it out, and tap the fork against the bowl's edge to remove excess. For an ultra-smooth finish, skip the tapping and instead use a dipping tool or two forks to gently roll the ball in the chocolate. If coating seems too thick, stir in 1 teaspoon of coconut oil to thin it.
- → What's the best way to crumble the cake?
-
A food processor makes quick work of creating fine, even crumbs, but your hands work perfectly too. If using your hands, break the cake into small pieces first, then rub them between your palms until you achieve a sand-like texture. Remove any large chunks or frosting pockets if using a frosted cake—these can create uneven textures in the final mixture.