 Pin It
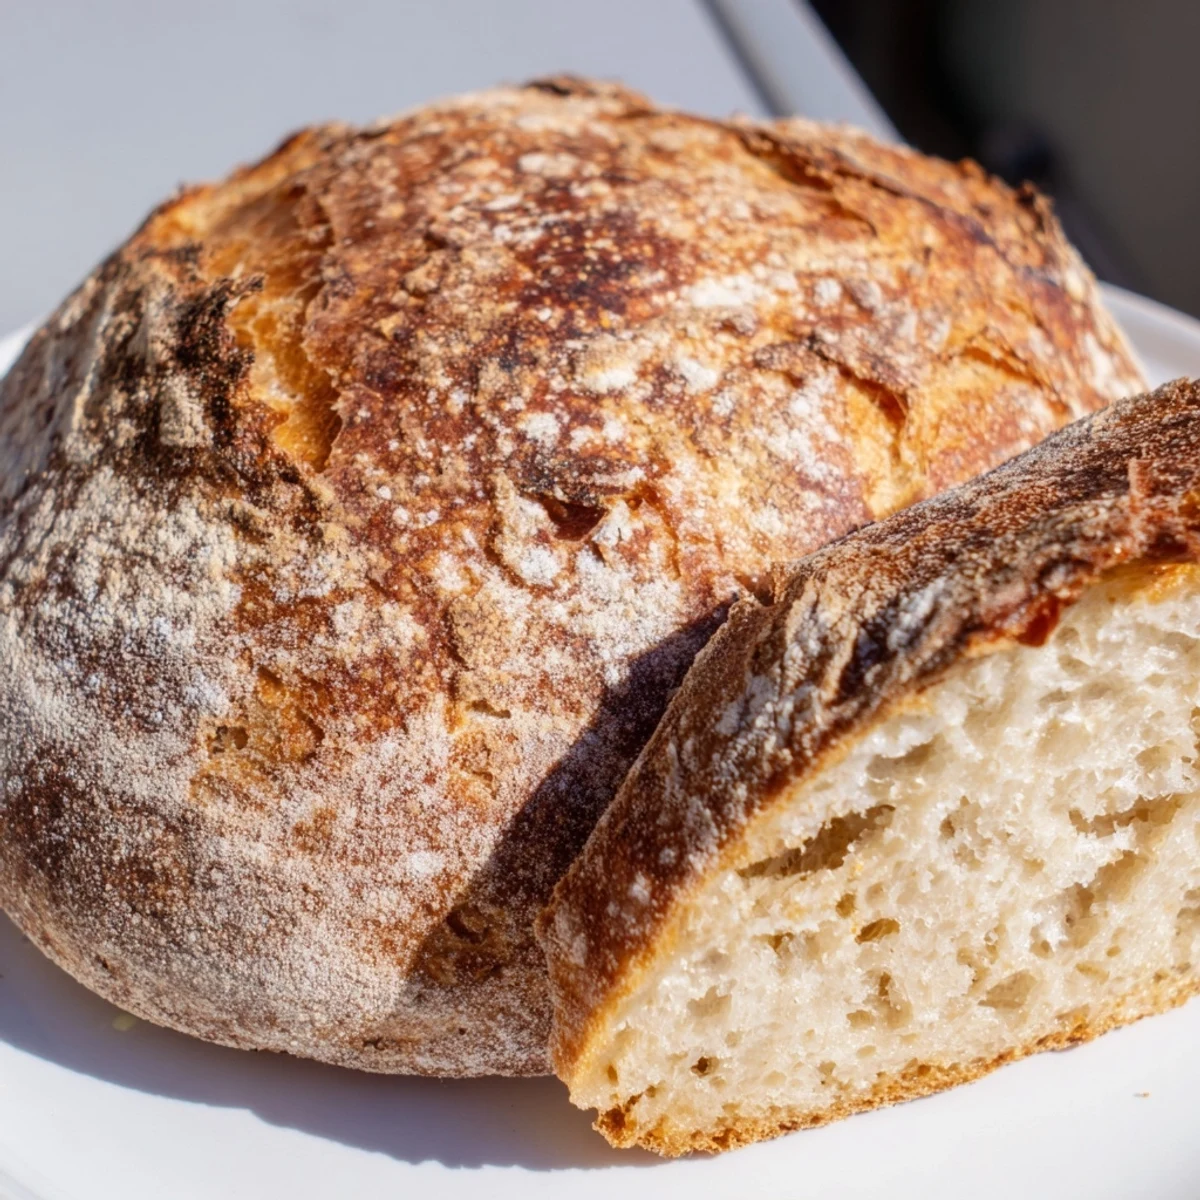
 Master the art of homemade artisan bread without any kneading. This foolproof method combines simple ingredients—bread flour, instant yeast, salt, and lukewarm water—requiring only 10 minutes of hands-on preparation. After a 12–18 hour rest period, shape the dough and bake in a preheated Dutch oven for professional results: a deep golden crust with an airy, chewy crumb.
The Dutch oven creates steam during baking, essential for developing that signature crackly crust. Perfect for beginners yet impressive enough for experienced bakers, this versatile loaf accepts additions like olives, nuts, or dried fruit. Serve warm with salted butter, olive oil for dipping, or use as the foundation for gourmet sandwiches.
My tiny apartment kitchen smelled like a proper bakery for the first time when I tried this recipe. I had convinced myself bread making required mysterious skills and hours of backbreaking kneading—turns out, time does most of the work for you. That first loaf emerged from my Dutch oven with a crust that actually crackled when I pressed it. Now I keep a container of flour on my counter just for those spontaneous baking moods.
Last winter, my sister visited during a snowstorm and we decided to bake bread instead of braving the roads for groceries. We took turns checking the bubbling dough every few hours, like watching a slow motion science experiment. When we finally sliced into that golden loaf, steam curling into the cold kitchen air, we ate nearly half with just butter and sea salt while standing at the counter. Something about waiting 18 hours for food makes it taste infinitely better.
Ingredients
- Bread flour: Higher protein content than all purpose creates better gluten development for that chewy texture we all love
- Salt: Do not reduce this—salt is what balances flavor and keeps the bread from tasting like plain flour paste
- Instant yeast: No proofing needed here, just whisk it directly into the dry ingredients
- Lukewarm water: Think bath temperature—too hot kills the yeast, too cold makes it sluggishly slow
- Extra flour or cornmeal: Prevents sticking and adds a subtle texture to the bottom crust
Instructions
- Mix the dough:
- Whisk flour, salt, and yeast in a large bowl until well combined, then stir in water until you get a shaggy, sticky mass—do not overmix or try to make it smooth
- Let time work:
- Cover tightly and walk away for 12 to 18 hours until bubbles dot the surface and it has noticeably grown
- Shape gently:
- Flour your hands liberally and coax the dough into a rough ball, being careful not to deflate all those air bubbles you waited all day for
- Rest again:
- Place on floured parchment, cover, and let it relax for 30 to 60 minutes while you preheat your oven with the Dutch oven inside
- Bake covered:
- Carefully transfer dough with parchment into the screaming hot Dutch oven, cover, and bake for 30 minutes to trap steam
- Crisp it up:
- Remove the lid and bake another 12 to 15 minutes until deep golden brown—do not be afraid of dark color here
- Cool completely:
- Let the loaf rest on a wire rack for at least an hour before slicing, or the interior will be gummy
 Pin It
 I once forgot about my dough for nearly 24 hours and worried it had overproofed into oblivion. That accidental loaf turned out to be the most fermented and flavorful one I had ever made, with a subtle tang that reminded me of sourdough. Now I tell people the rising time is flexible rather than rigid—this recipe is surprisingly forgiving of real life distractions.
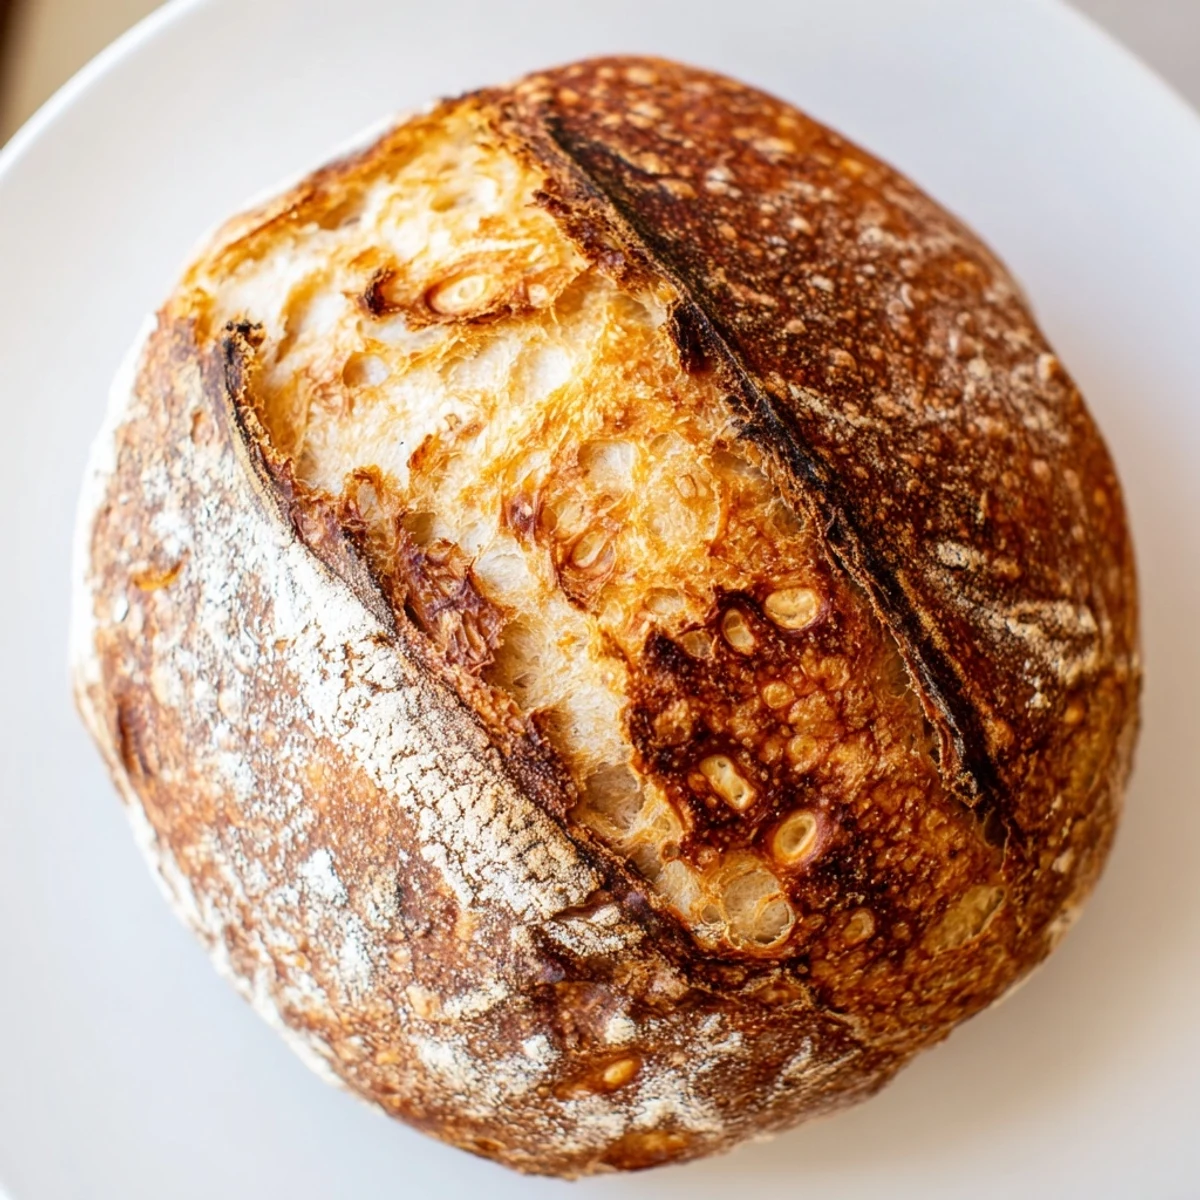
Getting The Best Crust
The Dutch oven creates a mini steam chamber that mimics professional bread ovens, giving you that crackly caramelized exterior. Make sure your oven is fully preheated for at least 30 minutes—rushing this step results in disappointing pale crusts that soften quickly.
Customizing Your Loaf
Once you master the basic version, the variations are endless. I have added chopped rosemary and roasted garlic, folded in kalamata olives, or swapped some flour for whole wheat for nuttiness. Just keep the total flour weight the same and your add ins under half a cup.
Storage And Serving Suggestions
This bread keeps remarkably well stored in a paper bag at room temperature for up to two days—plastic makes the crust go soft. After that, slice and freeze for the best toast you will ever have.
- Dip chunks in good olive oil with cracked pepper
- Use day old slices for panzanella or bread pudding
- Grill thick slices and rub with raw garlic
 Pin It
 There is something deeply satisfying about making bread with your own hands, even when those hands barely did any work. May your kitchen always smell like flour and possibility.
Recipe FAQ
- → Why do I need a Dutch oven for this bread?
-
A Dutch oven traps steam during baking, creating the perfect environment for a crispy, crackly crust to form. The enclosed space keeps the dough moist initially, allowing it to expand fully before the crust sets—mimicking professional steam-injected ovens.
- → Can I use all-purpose flour instead of bread flour?
-
Yes, all-purpose flour works well as a substitute. The loaf may have slightly less chewiness, but you'll still achieve excellent results. Bread flour's higher protein content creates more gluten development, yielding that characteristic artisan texture.
- → Why does the dough need to rise for 12–18 hours?
-
This extended fermentation period allows wild yeast and enzymes to break down flour proteins, developing complex flavors and improving digestibility. The slow rise creates a light, airy crumb with those desirable irregular holes found in professional bakery loaves.
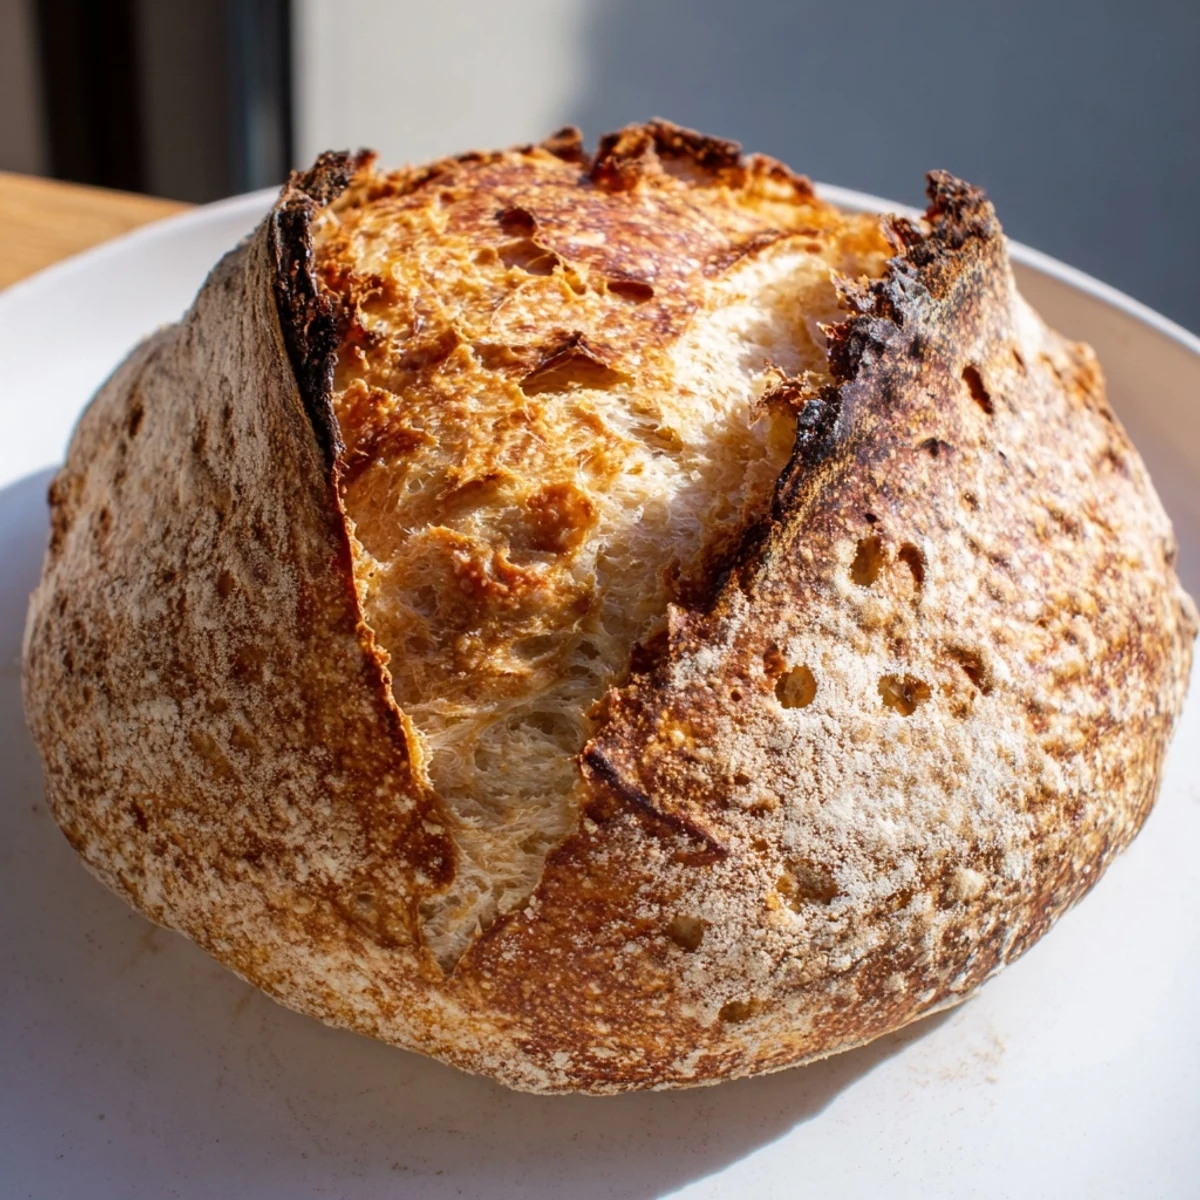
- → How do I know when the bread is fully baked?
-
The loaf should sound hollow when tapped on the bottom, and the crust will be a deep golden brown. An instant-read thermometer inserted into the center should read between 200–205°F (93–96°C). Letting it cool completely before slicing ensures the interior finishes cooking properly.
- → Can I add mix-ins like nuts, seeds, or dried fruit?
-
Absolutely. Fold in up to 1/2 cup of additions like chopped olives, walnuts, sunflower seeds, raisins, or dried cranberries when mixing the dry ingredients. Hearty additions such as rosemary, roasted garlic, or shredded cheese also work beautifully.
- → What if I don't have a Dutch oven?
-
You can use a heavy oven-safe pot with a tight-fitting lid, such as a ceramic casserole dish or cast iron pot. Alternatively, bake on a baking sheet and place a metal bowl of water on the lower rack to create steam, though the crust won't be quite as dramatic.